
Giving your old furniture a fresh new look doesn’t have to be daunting! Upholstering furniture is a fun and rewarding DIY project that can breathe new life into your home décor. Whether you’re updating a vintage armchair, refreshing an old sofa, or giving your dining chairs a new flair, upholstery is a great way to add your personal touch. In this guide, we’ll walk you through the steps, tips, and tricks for upholstering furniture like a pro.
[Image Prompt] A cozy, vintage armchair with a vibrant new fabric, placed against a neutral wall in a sunlit living room.
Tools and Materials You’ll Need
Before diving into the project, gather all the necessary tools and materials. A well-equipped workspace will make the job smoother and more enjoyable. Here’s what you’ll need:
- Fabric: Choose durable, washable fabric that matches your style and home décor. If you’re unsure, go for a medium-weight fabric, which is versatile for most projects.
- Upholstery Tacks or Staples: You can use either depending on the look you’re going for.
- Staple Gun: A heavy-duty staple gun will be essential for securing fabric to your furniture.
- Foam Padding (optional): If you want to add extra comfort or revamp the cushions, foam padding is a great option.
- Scissors: Sharp fabric scissors will make cutting your fabric much easier.
- Screwdriver: If your furniture has removable parts, you may need a screwdriver to disassemble it.
- Pliers: For removing old staples or tacks.
[Image Prompt] A well-organized workbench with upholstery tools: staple gun, scissors, fabric swatches, and foam padding.
Step 1: Prepare Your Furniture
The first step in upholstering furniture is preparing the piece. This involves removing the old fabric and any worn-out padding. Here’s how:
- Remove the old fabric: Use a screwdriver or pliers to take off the existing fabric, staples, and tacks. Take care not to damage the wooden frame underneath.
- Inspect the frame: Once the old fabric is off, check for any broken or loose joints. Tighten screws or glue any wobbly parts.
- Replace or refresh padding: If the foam padding is worn, replace it with new foam. If it’s still in good condition, you can simply add a layer of batting for extra softness.
[Image Prompt] A pair of hands carefully removing old upholstery fabric from a wooden chair frame, with tools laid out beside it.
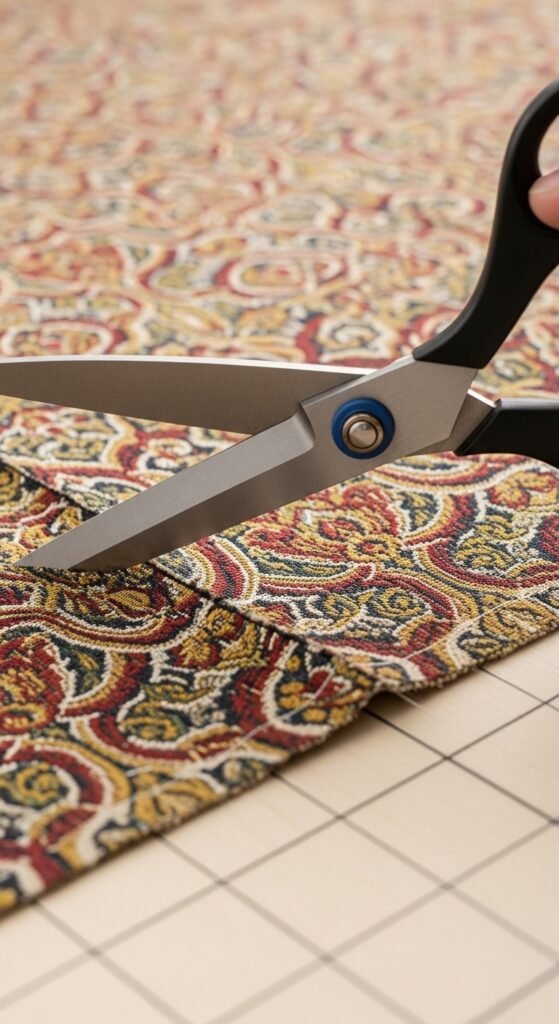
Step 2: Cut the New Fabric
Once your furniture is prepped, it’s time to cut your new fabric to size. Follow these tips to get the perfect fit:
- Measure carefully: Measure each piece of your furniture (seat, backrest, arms) to ensure you cut enough fabric. Always add a few extra inches to your measurements to allow for stretching and stapling.
- Cut the fabric: Lay your fabric flat on a clean surface. Use sharp scissors to cut the fabric according to the measurements you took earlier. For a professional finish, make sure the pattern or texture of the fabric aligns correctly on all pieces.
- Test fit: Before stapling, loosely place the fabric over your furniture to make sure it fits properly.
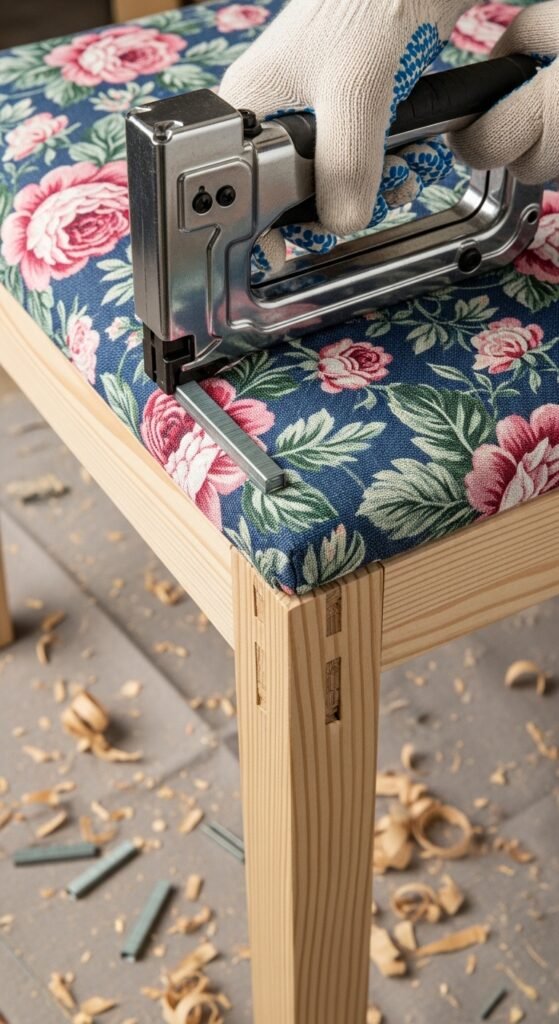
Step 3: Staple the New Fabric
Now that your fabric is cut to size, it’s time to staple it onto the furniture. Start from the center of each side and work your way outward, ensuring the fabric is taut but not overstretched.
- Start at the center: Begin by stapling the fabric in the center of the backrest or seat. This will give you the best control over how tight the fabric is pulled.
- Pull tight and staple: Gradually pull the fabric taut, working in opposite directions. Secure it with staples about 1-2 inches apart. Be sure to keep the fabric smooth and avoid wrinkles.
- Finish the edges: Once the main pieces are secured, fold over the edges and staple them neatly to create a clean, crisp finish.
Step 4: Add the Finishing Touches
Once all the fabric is attached, you can add those little finishing touches that will make your project truly shine.
- Cover the staples: If you want a polished look, you can cover the staples with upholstery tacks, trim, or piping. This adds a decorative touch and hides the staples.
- Reassemble the furniture: If you disassembled your furniture, now is the time to reattach the parts. Tighten screws and make sure everything is secure before using it.
- Final adjustments: Smooth out any wrinkles or excess fabric, and make sure the fabric is taut all over.
[Image Prompt] A beautifully reupholstered chair, showing a neat, professional finish with decorative upholstery tacks along the edges.
Conclusion: Enjoy Your Revamped Furniture!
Upholstering furniture may seem intimidating at first, but with a little patience and the right tools, you can create stunning pieces that bring fresh style to your home. Not only will you save money, but you’ll also have the satisfaction of transforming your old furniture into something new and personalized. So, get started on your upholstery project today, and watch your furniture come to life with a fresh new look!
Don’t forget to save this guide for later, and share your transformation journey with us. Happy upholstering!

Leave a Reply