
That outdated dresser sitting in the garage or thrift store corner might look like a lost cause—but it’s actually a hidden goldmine. With a little creativity and a weekend of effort, you can turn it into a custom statement piece that looks high-end without the high price tag. Upcycling an old dresser isn’t just about saving money; it’s about creating something personal, stylish, and built to last.
[Image Prompt] A worn wooden dresser before and after upcycling, shown in a bright room with natural light, featuring fresh paint, new hardware, and styled decor on top.
Below is a step-by-step guide to help you transform an old dresser into something you’ll be proud to show off.
Why Upcycling a Dresser Is Worth It
Buying new furniture adds up fast. A solid wood dresser can easily cost several hundred dollars—sometimes more. Upcycling lets you:
- Save money by working with what you already have
- Get higher-quality materials than many modern pieces
- Customize the size, color, and style
- Reduce waste and give furniture a second life
Older dressers are often made from real wood, which makes them perfect candidates for sanding, painting, and refinishing.
Step 1: Choose the Right Dresser
Not every dresser is worth the effort, so start smart.
Look for:
- Solid wood construction (not flimsy particle board)
- Sturdy drawers that slide well
- Minimal water damage or warping
Cosmetic issues like scratches, outdated handles, or faded finishes are easy fixes. Structural problems usually aren’t worth the time.
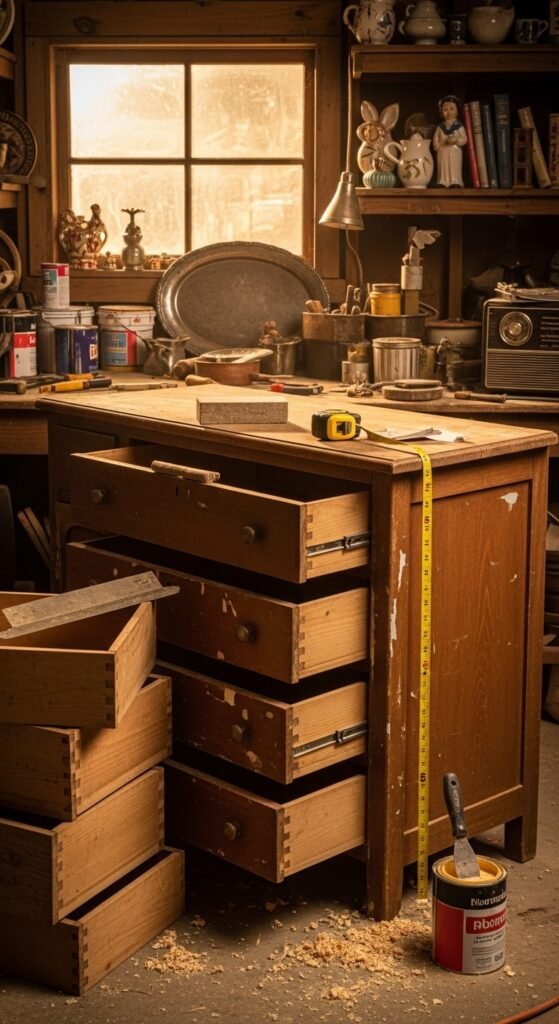
Step 2: Prep Like a Pro (This Makes or Breaks the Finish)
Preparation is where most beginners rush—and where the final result can suffer.
What to do:
- Remove all drawers and hardware
- Clean thoroughly with warm water and mild soap
- Lightly sand surfaces to remove shine and rough spots
- Fill dents or holes with wood filler and sand smooth
You don’t need to strip everything down to bare wood unless the surface is peeling badly. A good scuff-sand is usually enough.
Pro tip: Label drawers with tape so they go back into the same slots.
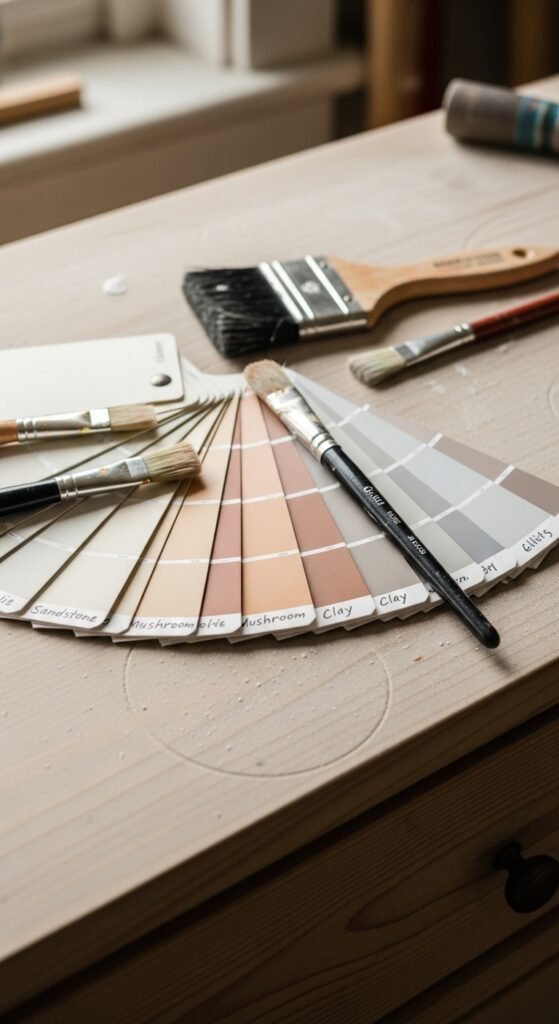
Step 3: Pick a Style and Color That Feels Timeless
Before grabbing paint, decide on a direction. This prevents half-finished projects and regret later.
Popular dresser upcycle styles:
- Soft neutral tones for a calm, modern look
- Deep, moody colors for bold statement pieces
- Natural wood with sealed finish for warmth
Test paint colors on the back or inside of a drawer first. Lighting changes everything.
Step 4: Paint or Refinish With Confidence
Now the transformation starts to feel real.
Painting tips:
- Use a high-quality brush or foam roller
- Apply thin, even coats
- Let each coat fully dry before the next
- Lightly sand between coats for a smooth finish
Most dressers need 2–3 coats. Don’t rush drying time—it’s worth the patience.
If you prefer a wood look, apply a clear protective finish instead of paint to highlight the grain.
Step 5: Upgrade the Hardware for an Instant Glow-Up
New hardware is one of the easiest ways to make a dresser look custom.
Options that work well:
- Simple metal pulls for a clean look
- Vintage-inspired knobs for character
- Sleek bar handles for modern spaces
Measure carefully before buying. If hole spacing doesn’t match, you can fill old holes and drill new ones.
[Image Prompt] A styled close-up of a freshly painted dresser drawer with modern hardware installed, shown with natural shadows and texture.
Step 6: Seal and Protect Your Work
To make your upcycled dresser last, sealing is essential.
Use:
- A clear protective topcoat for painted finishes
- Extra layers on high-touch areas like drawer fronts
This step helps prevent chips, scratches, and everyday wear—especially if the dresser will be used daily.
Step 7: Style It Like a Designer Piece
Once the dresser is back together, styling brings it to life.
Try:
- A table lamp and small plant
- A framed mirror above it
- Minimal decor for a clean, polished look
Keep it simple. Let the dresser be the star.
[Image Prompt] A finished upcycled dresser styled in a cozy bedroom with neutral decor, soft lighting, and a plant on top.
The Real Savings Add Up
Here’s a rough comparison:
- New solid wood dresser: $600–$1,000+
- Thrifted dresser + supplies: $80–$150
That’s hundreds saved—and a piece that looks one of a kind.
Final Takeaway
Upcycling an old dresser is one of the most rewarding DIY projects you can tackle. It saves money, reduces waste, and gives you furniture that actually fits your style. Start simple, take your time, and enjoy the process.
Save this guide for later and start planning your next upcycle project!

Leave a Reply