
There’s something magical about walking into a room and feeling like it belongs in a design magazine. The best part? You don’t need custom wallpaper or a professional crew to get that look. Wall stenciling is a budget-friendly, hands-on way to add pattern, depth, and personality—without permanent commitment.
[Image Prompt] A bright, modern living room with a soft neutral wall featuring a repeating geometric stencil pattern, natural daylight, minimal furniture, high-end interior photography, no text on image.
Whether you want subtle texture or bold drama, this guide will walk you through every step to achieve a polished, designer-style result.
Why Stenciling Is a Designer Secret
Stenciling has quietly made a comeback—and for good reason. It offers flexibility that paint alone can’t match.
Why designers love it:
- It mimics custom wallpaper at a fraction of the cost
- You control scale, color, and placement
- Mistakes are easy to fix with touch-ups
- It works in rentals when done with care
From accent walls to entire rooms, stencils adapt beautifully to modern, boho, farmhouse, and classic spaces.
Choosing the Right Stencil Pattern
Before grabbing paint, take time to choose a pattern that fits your space.
Think about:
- Room size: Small-scale patterns suit compact rooms, while larger motifs shine in open spaces
- Style: Florals feel soft and romantic, geometrics feel modern, and damask leans traditional
- Visual weight: Dense patterns feel dramatic; airy repeats feel calm
Tip: Tape the stencil to the wall and step back. If it looks balanced from across the room, you’re on the right track.
Tools and Supplies You’ll Need
Having everything ready makes the process smoother and more enjoyable.
Stencil essentials:
- Wall stencil (reusable plastic works best)
- Painter’s tape or repositionable adhesive spray
- Small foam roller or stencil brush
- Paint tray and paper towels
- Level and pencil
- Drop cloth

Choose high-quality paint with a matte or eggshell finish for the most professional look.
Prep Your Wall Like a Pro
Preparation is what separates DIY-looking results from designer-level finishes.
Before you start:
- Clean the wall to remove dust or residue
- Patch holes and sand smooth
- Let the base paint color fully cure (24–48 hours)
Use a level to mark a straight starting point. This helps keep the pattern aligned and prevents a drifting effect as you work across the wall.
How to Apply the Stencil Step by Step
This is where the transformation happens. Go slow and stay consistent.
Stencil application tips:
- Secure the stencil firmly with tape or adhesive
- Load your roller lightly—less paint is better
- Roll off excess paint on a paper towel
- Use gentle, even pressure
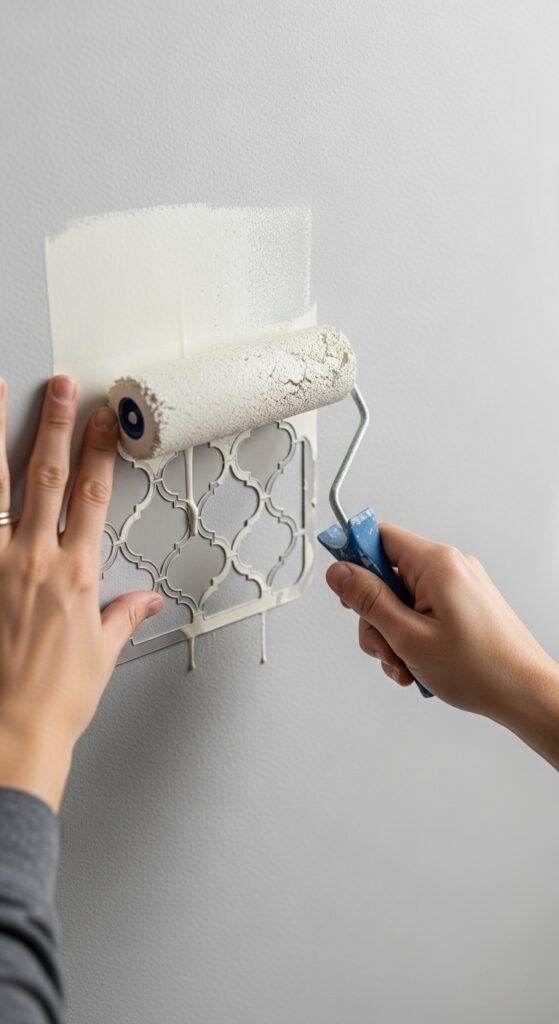
Work from top to bottom and overlap stencil registration marks carefully. Patience here pays off.
Keeping Patterns Clean and Crisp
Clean lines are the hallmark of a polished stencil wall.
Avoid common issues:
- Bleeding: Use minimal paint and secure edges well
- Smudging: Let paint dry slightly before repositioning
- Misalignment: Check level every few repeats
If a section isn’t perfect, don’t panic. Let it dry and touch it up with a small brush.
Creative Stenciling Ideas to Try
Stencils don’t have to cover an entire wall to make an impact.
Designer-inspired ideas:
- Stencil just the upper half of a wall
- Frame a stencil panel behind a bed or sofa
- Use a slightly darker or lighter shade of the wall color for subtle texture
- Create a border near the ceiling for an elegant detail
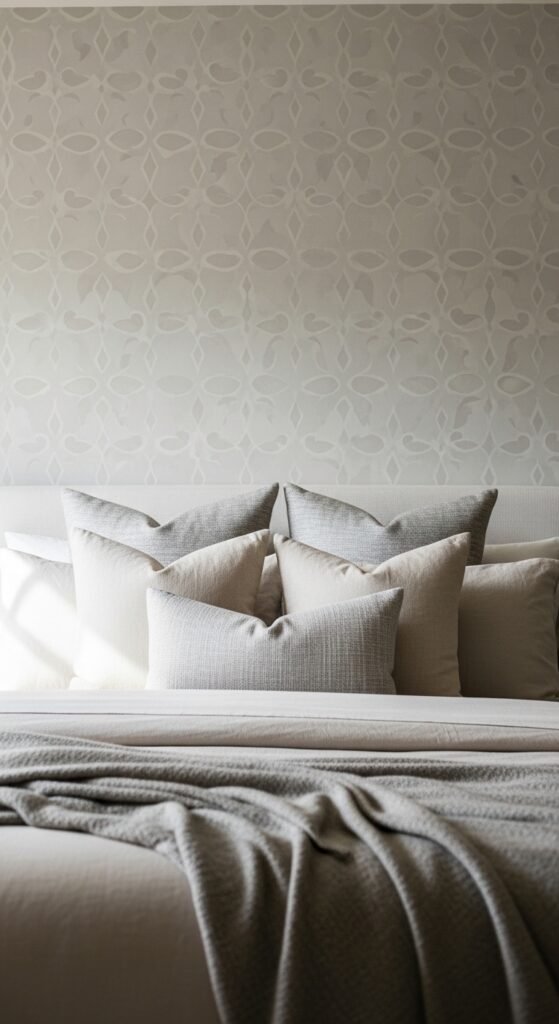
These variations keep the look elevated and intentional.
Finishing Touches That Elevate the Look
Once the paint is dry, remove tape carefully and step back.
Final details to check:
- Touch up edges and corners
- Clean the stencil before storing for future use
- Style the room with simple décor so the pattern shines
Lighting matters too—natural or soft ambient light highlights texture and depth beautifully.
Is Stenciling Right for Your Space?
If you love hands-on projects and want big impact without major renovation, wall stenciling is a perfect fit. It’s creative, customizable, and incredibly satisfying.
With the right prep and a little patience, you can transform plain walls into a designer-worthy feature.
Save this guide for later and start planning your stencil wall today!

Leave a Reply