
There’s something magical about shiplap. It instantly makes a room feel warmer, brighter, and more intentional—without requiring a full renovation. Whether you’re updating one wall or transforming an entire space, shiplap is a beginner-friendly project that delivers big visual payoff.
[Image Prompt] A bright farmhouse-style living room with a freshly installed white shiplap accent wall, natural sunlight streaming in through large windows, cozy neutral furniture, and soft textures, photographed with a high-end camera, no text on image.
The best part? You don’t need to be a professional contractor to install it. With the right prep and a step-by-step approach, you can create that classic farmhouse charm in a weekend.
What Is Shiplap and Why It Works So Well
Shiplap refers to wooden boards designed to overlap slightly, creating clean horizontal lines. These lines add texture and interest without overwhelming the room.
Homeowners love shiplap because it:
- Makes walls feel more finished and custom
- Works in living rooms, bedrooms, bathrooms, and entryways
- Pairs beautifully with modern, rustic, or traditional decor
- Can be painted or left natural for different looks
Before jumping in, decide where shiplap will make the biggest impact. Accent walls, fireplaces, and dining rooms are popular choices.
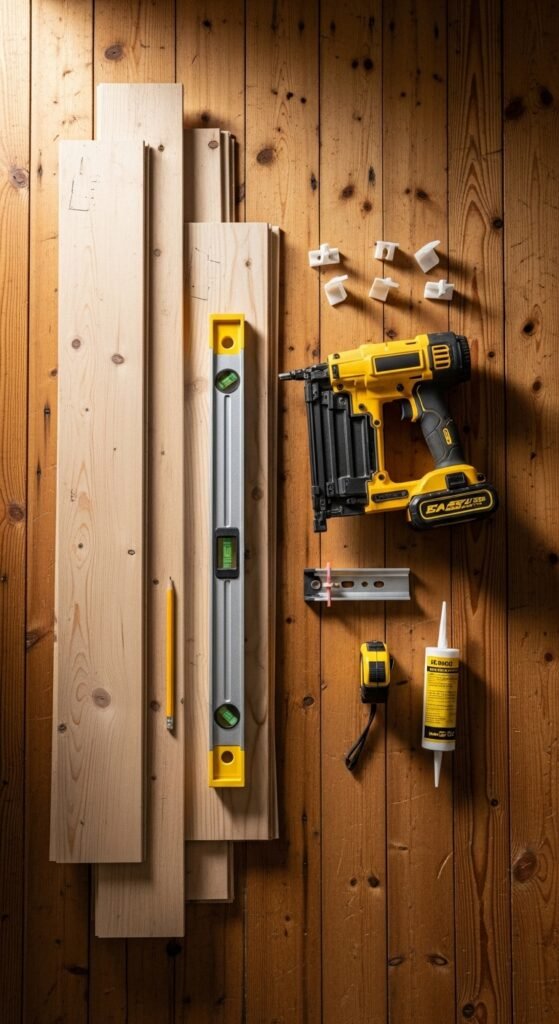
Tools and Materials You’ll Need
Getting organized first saves time and frustration later. Here’s a simple checklist to start with:
- Shiplap boards (real wood, MDF, or plywood panels)
- Stud finder
- Level
- Measuring tape
- Pencil
- Nail gun or hammer and finish nails
- Construction adhesive
- Saw (hand saw or miter saw)
- Spacers or nickels (for even gaps)
- Caulk and paint (if finishing)
Choose boards that suit your room. Thicker boards add depth, while thinner panels are easier to install on tight timelines.
Step 1: Prep Your Wall Like a Pro
Preparation sets the foundation for a smooth install. Start by removing outlet covers, wall decor, and baseboards if needed.
Next:
- Use a stud finder to mark stud locations
- Check that your wall is clean and flat
- Decide whether you’re installing horizontally or vertically
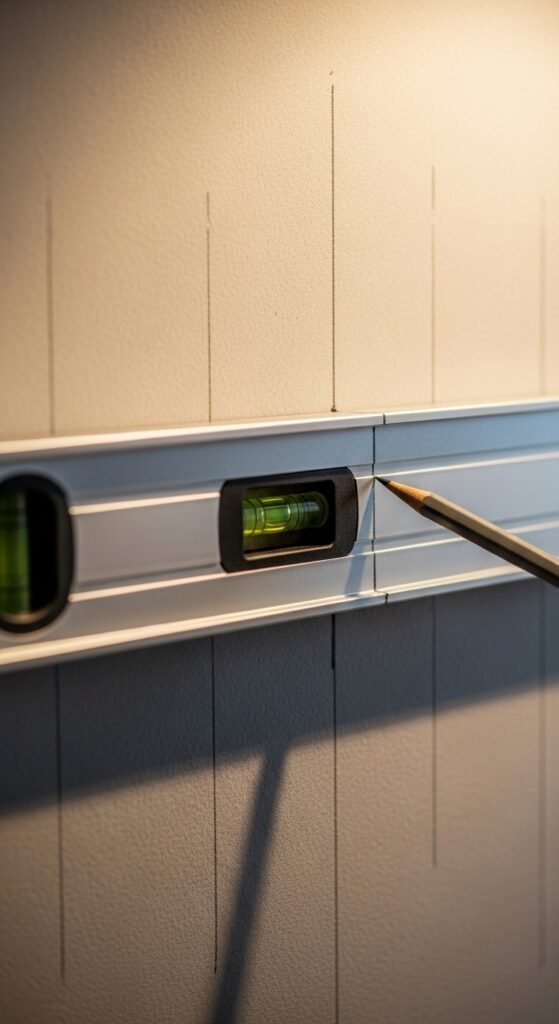
A level starting line is critical. If your first board is crooked, every board after it will follow.
Step 2: Install the First Board Carefully
This is the most important step, so take your time.
- Apply construction adhesive to the back of the first board
- Align it perfectly with your level line
- Nail into studs for extra hold
If you’re installing horizontally, start at the bottom and work your way up. Use spacers to keep gaps consistent between boards. These small gaps help create the classic shiplap look and allow for natural expansion.
Step 3: Continue the Pattern and Stagger Seams
As you add boards, keep checking for level every few rows. Walls aren’t always perfectly straight, so small adjustments matter.
Helpful tips:
- Stagger seams for a more natural look
- Cut boards carefully around outlets and switches
- Wipe away excess adhesive as you go
[Image Prompt] Hands installing shiplap boards on a wall, using spacers between planks, nail gun in action, warm neutral room tones, realistic DIY photography, no text on image.
This is where the wall really starts to come together—and it’s incredibly satisfying to see the transformation happen in real time.
Step 4: Finish for a Polished Look
Once all boards are up, it’s time to make everything look seamless.
- Fill nail holes with wood filler
- Lightly sand rough spots
- Caulk along edges and corners
- Paint or seal as desired
White and soft neutrals are classic choices, but darker tones can add drama and contrast.
[Image Prompt] A freshly painted white shiplap wall drying in a cozy farmhouse room, paint roller tray nearby, soft daylight highlighting the texture, high-end interior photography, no text on image.
Allow everything to dry fully before reattaching outlet covers or styling the space.
Common Shiplap Mistakes to Avoid
Even simple projects can go sideways without a plan. Watch out for these common issues:
- Skipping stud marks
- Forgetting to level the first board
- Using inconsistent spacing
- Rushing cuts around outlets
Taking it slow actually saves time in the long run—and leads to cleaner results.
Styling Your New Shiplap Wall
Once installed, shiplap becomes the perfect backdrop for farmhouse-inspired decor.
Try:
- Floating shelves with neutral accents
- Framed art or mirrors
- Simple greenery or woven textures
Let the wall breathe. Shiplap looks best when it’s not overcrowded.
Final Takeaway
Installing shiplap is one of those projects that looks high-end but feels totally achievable. With the right tools, a little patience, and a clear plan, you can transform any room into a cozy farmhouse retreat.
Save this guide for later, grab your tools, and enjoy the process—you’ll love the result every time you walk into the room.

Leave a Reply