
There’s something special about wood that looks like it has a story. A few dents, worn edges, and faded layers can instantly make a piece feel warm, lived-in, and full of charm. The best part? You don’t need years of wear to get that look—you can create it yourself in an afternoon.
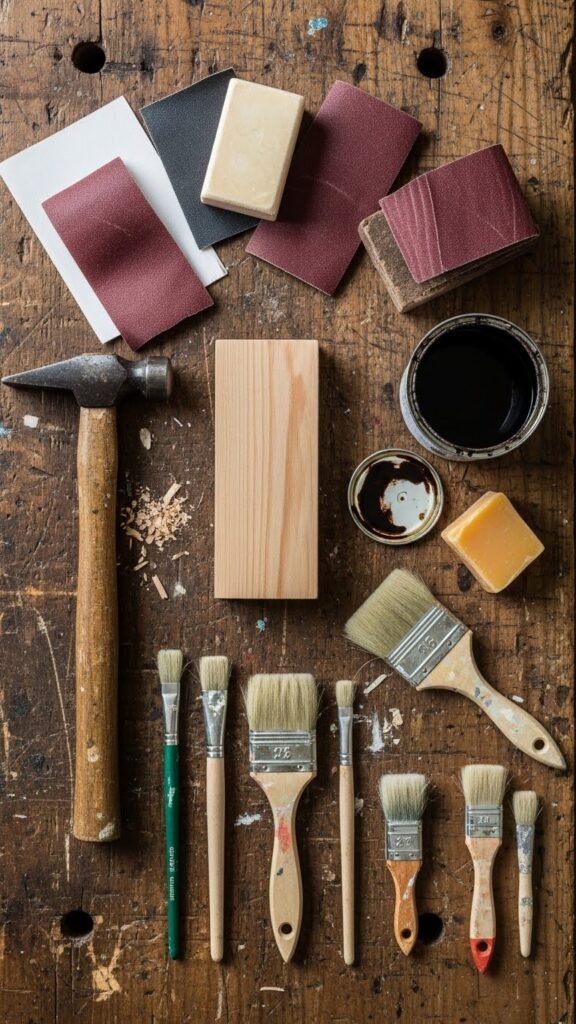
[Image Prompt] A rustic wooden table in a bright workshop, surrounded by simple tools like sandpaper, a hammer, and brushes, with natural light highlighting the textured wood grain.
Whether you’re updating a small shelf, a picture frame, or a larger furniture piece, distressing wood is a beginner-friendly DIY that delivers big visual impact. Let’s walk through it step by step.
What Does “Distressing Wood” Really Mean?
Distressing wood is all about intentional imperfection. You’re recreating the natural marks that time leaves behind—softened corners, uneven color, and subtle texture.
This style works beautifully for:
- Farmhouse and rustic decor
- Cottage or vintage-inspired spaces
- Accent pieces that need character
You’re not trying to damage the wood. You’re giving it personality.
Gather Your Supplies (Keep It Simple)
You likely already have most of what you need at home.
Basic supplies:
- Raw or previously finished wood
- Sandpaper (medium and fine grit)
- A hammer, chain, or screwdriver
- Paint or wood stain
- Clean cloths or old rags
- Protective gloves
Tip: If your wood has an old finish, lightly sand it first so new layers stick better.
Step 1: Start with Sanding for a Natural Base
Before adding marks or color, prep the surface.
- Sand lightly across the entire piece
- Focus on edges and corners—they naturally wear first
- Don’t aim for perfection; uneven is good here
This step helps the wood absorb stain or paint more realistically and keeps the final look soft instead of harsh.
Step 2: Add Texture with Simple Tools
This is where the fun begins. Think about how furniture naturally gets worn—bumps, taps, and scuffs over time.
Try these techniques:
- Tap lightly with a hammer for small dents
- Drag a chain across the surface for organic marks
- Press a screwdriver edge into corners for subtle wear
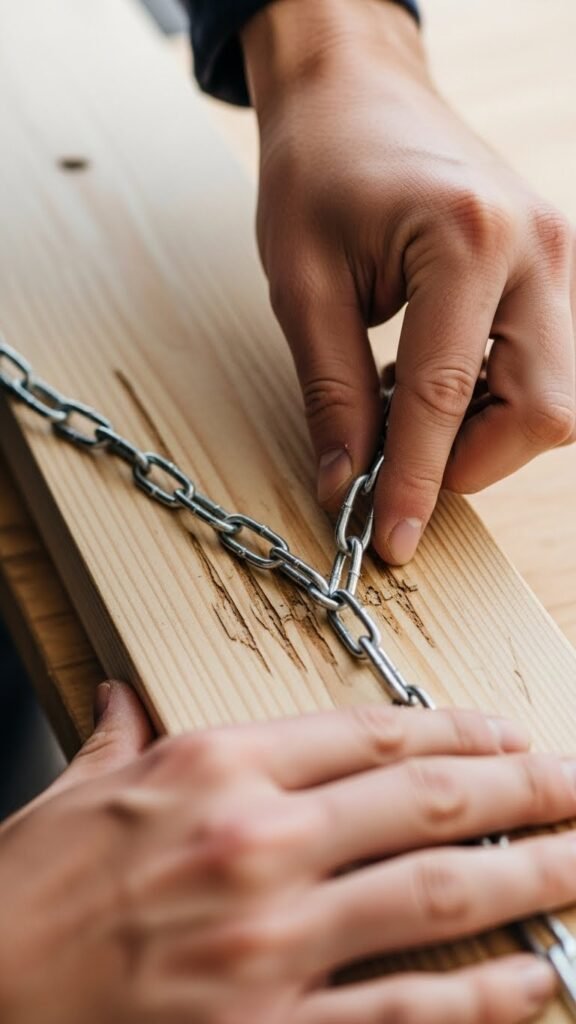
Work slowly and step back often. A little goes a long way, and it’s easier to add more than to undo too much.
Step 3: Apply Paint or Stain in Thin Layers
Color brings the whole look together. You can go light, dark, or somewhere in between depending on your style.
For paint:
- Use a brush or cloth for uneven coverage
- Let some wood show through
- Apply one thin coat and let it dry
For stain:
- Wipe it on with a cloth
- Remove excess quickly for a weathered look
- Layer gradually for depth
[Image Prompt] A hand wiping wood stain onto a distressed wooden board, showing uneven tones and rich grain texture.
Don’t stress about streaks. Slight variation is what makes it look authentic.
Step 4: Sand Again to Reveal Character
Once the paint or stain is dry, lightly sand the surface again.
Focus on:
- Edges
- Raised areas
- Spots where natural wear would happen
This reveals layers underneath and creates that timeworn effect everyone loves.
[Image Prompt] A close-up of sandpaper smoothing painted wood edges, revealing lighter wood underneath for a rustic finish.
If it starts looking too clean, stop. Rustic should feel relaxed, not polished.
Optional: Seal for Durability
If your piece will be handled often, add a clear protective finish.
- Use a matte or satin finish for a natural look
- Apply with a brush or cloth
- Keep the layer thin
This step locks in your work without making it look shiny or new.
Common Mistakes to Avoid
Even simple projects can go sideways. Watch out for these:
- Overdoing dents all in one spot
- Using heavy, thick paint layers
- Sanding too aggressively at the end
Remember, the goal is subtle aging, not heavy damage.
Where Distressed Wood Shines Best
Once you’ve mastered the technique, try it on:
- Wall shelves
- Picture frames
- Small stools or side tables
- Decorative signs
Each piece gets easier—and more fun—than the last.
Final Thoughts
Distressing wood is one of those DIY skills that feels creative, forgiving, and deeply satisfying. You don’t need fancy tools or perfect technique—just a little patience and the confidence to embrace imperfection.
Save this guide for your next weekend project, and start turning plain wood into something with real character.

Leave a Reply