
A gallery wall can completely transform a room—but only when it feels intentional, balanced, and thoughtfully arranged. The good news? You don’t need a designer budget or years of experience to pull it off. With a few smart steps and a clear plan, you can create a gallery wall that looks polished, personal, and Pinterest-worthy.
[Image Prompt] A bright living room with a professionally styled gallery wall featuring mixed frame sizes, neutral tones, and soft natural light, photographed straight-on with a high-end camera.
Start With a Clear Vision (Before You Pick Up a Hammer)
The biggest difference between a professional-looking gallery wall and a chaotic one is planning. Before you hang anything, take a moment to define your vision.
Ask yourself:
- Is the vibe modern, cozy, minimal, or eclectic?
- Will this wall feel calm or bold?
- Is it meant to highlight family moments, art prints, or a mix?
Choose a loose theme to guide your choices:
- Black-and-white photography for a clean look
- Soft neutrals for a calming effect
- Mixed textures for warmth and depth
This step keeps your wall from feeling random—and saves time later.
Choose a Layout That Fits Your Space
Your layout sets the tone for everything else. Different rooms call for different arrangements.
Popular gallery wall layouts:
- Grid layout: Clean, symmetrical, and modern
- Salon-style: Organic and collected, perfect for creative spaces
- Linear row: Ideal above sofas, beds, or consoles
- Anchor-based: One large piece centered with smaller frames around it
Pro tip:
Lay your frames on the floor first and experiment until the spacing feels right. Take a quick photo so you can remember the layout when hanging.
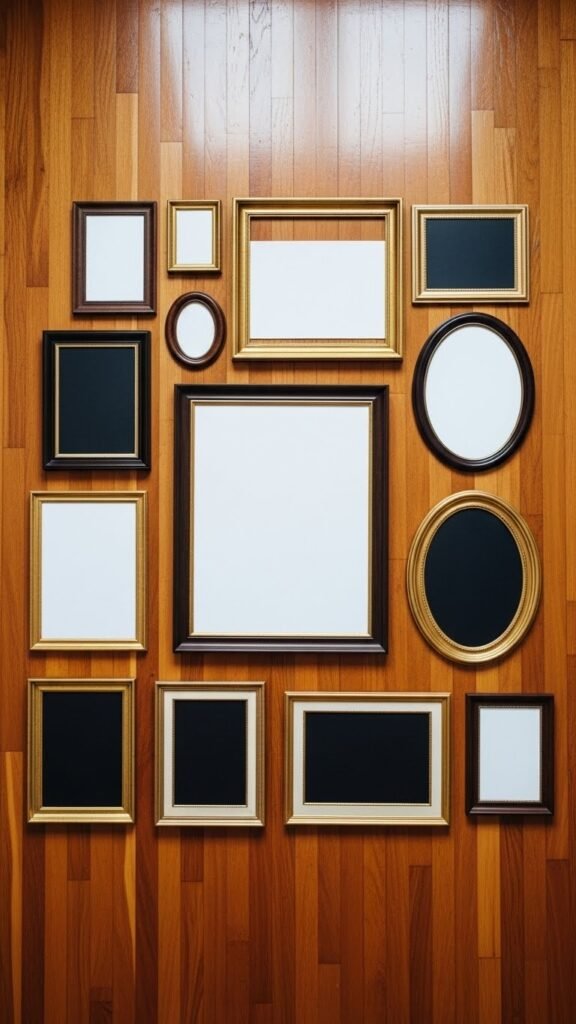
Mix Frame Sizes—But Keep Something Consistent
Professional gallery walls feel layered, not cluttered. The secret is variation with intention.
What works well:
- Mix large, medium, and small frames
- Combine vertical and horizontal pieces
- Add depth with mats and thin frames
What keeps it cohesive:
- A consistent frame color palette
- Similar mat tones
- Repeating shapes or spacing patterns
If you love variety, stick to one unifying element—like all black frames or all light wood. That consistency makes the mix look curated, not chaotic.
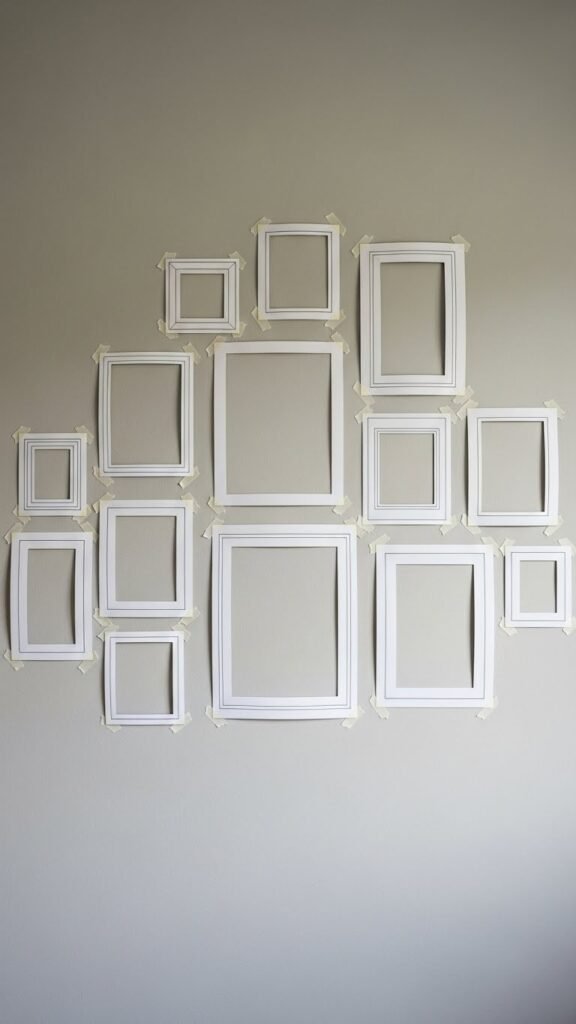
Use the Right Spacing (This Matters More Than You Think)
Spacing can make or break your gallery wall. Too close feels crowded. Too far apart feels disconnected.
Easy spacing guidelines:
- Keep frames 2–3 inches apart
- Maintain even gaps throughout the wall
- Step back often to check balance
Helpful trick:
Cut paper templates the size of each frame and tape them to the wall first. This lets you adjust without extra holes—and gives you confidence before committing.
Hang at the Perfect Height
Professionals follow one simple rule:
Eye level is key.
For most spaces:
- Center the gallery around 57–60 inches from the floor
- Over furniture, leave 6–8 inches of space above it
- Keep the visual center balanced, not the top edge
If your gallery wall spans a large area, focus on where the eye naturally lands rather than perfect measurements. Trust your instincts—and step back often.
Add Personal Touches for a Finished Look
A gallery wall shouldn’t feel like a showroom. The most beautiful ones tell a story.
Ideas to elevate your wall:
- Add one unexpected texture (woven art, a small mirror, or a sculptural piece)
- Include a meaningful photo among art prints
- Repeat a color subtly across multiple frames
Balance is key. Personal doesn’t mean busy—it means intentional.
[Image Prompt] A styled gallery wall with framed art, personal photos, and subtle texture accents, softly lit and photographed in natural daylight.
Final Styling Check Before You Call It Done
Before you put the tools away, do one last check:
- Is the spacing consistent?
- Does the wall feel balanced from left to right?
- Does anything feel out of place?
Small adjustments—moving one frame slightly or swapping two pieces—can make a big difference.
The Takeaway
Creating a gallery wall that looks professionally styled is all about planning, balance, and confidence. Take your time, trust your eye, and don’t be afraid to adjust as you go.
Once it’s done, step back and enjoy the transformation—your wall just became a statement.
Save this guide for later when inspiration strikes!

Leave a Reply