
Creating your own Christmas stockings is one of the easiest and most rewarding DIY projects for the holiday season. Whether you’re decorating your home, surprising the kids, or crafting thoughtful handmade gifts, a simple stocking is the perfect place to start. And the best part? You don’t need advanced sewing skills to make something adorable.
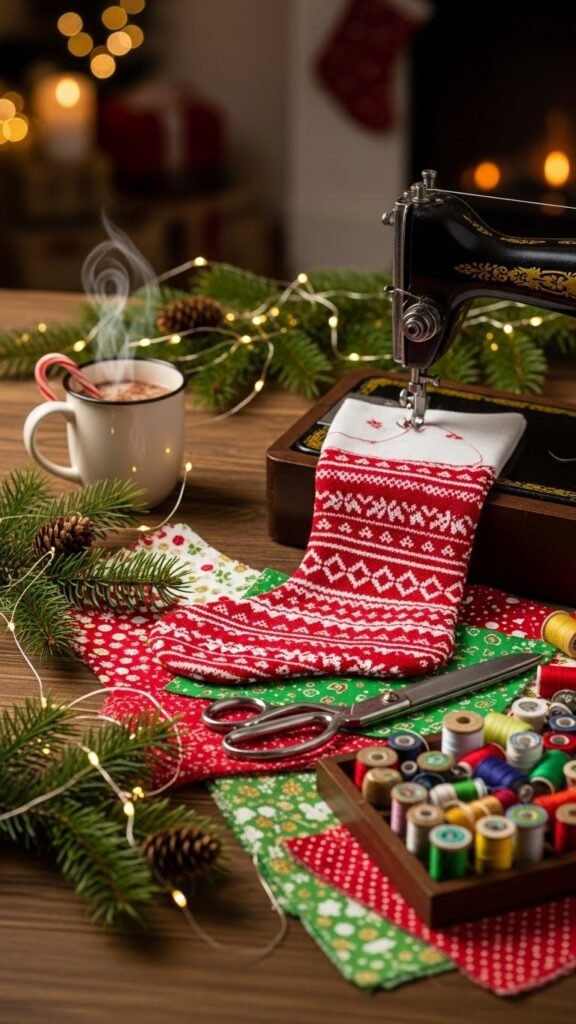
If you’re ready for a festive, beginner-friendly project, let’s dive into the steps that will have you stitching the cutest stockings in no time.
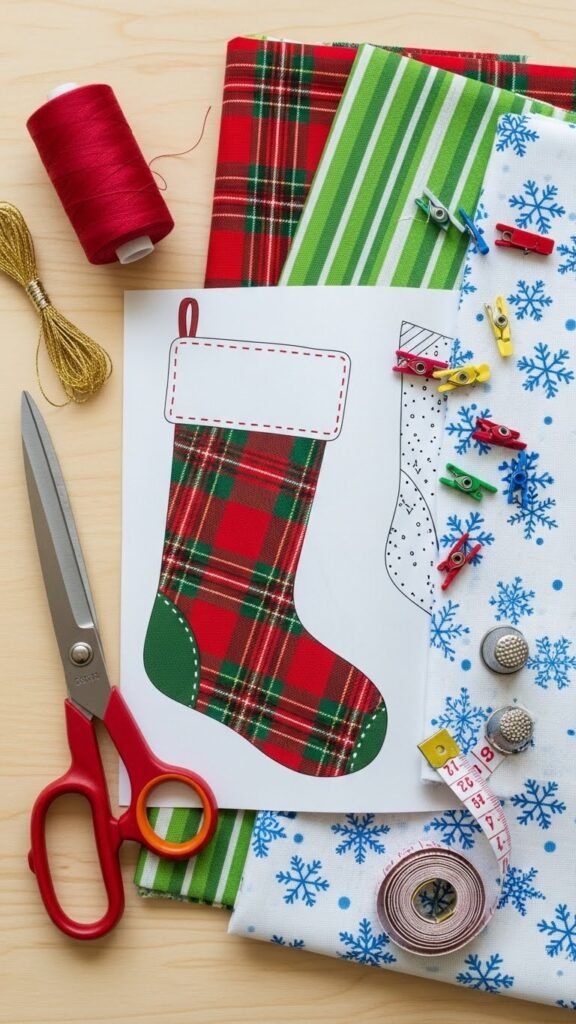
Gather Your Supplies
Before you start sewing, gather everything you’ll need. Keeping all materials in one place makes the project much smoother.
- Soft cotton or flannel fabric (two patterns look great together)
- Scissors or a rotary cutter
- Pins or clips
- Sewing machine (or a needle for hand-sewing)
- Thread
- Lining fabric
- Iron (optional but helpful)
- A stocking template (printed or hand-drawn)
Once you have these basics, the rest is simple and fun.
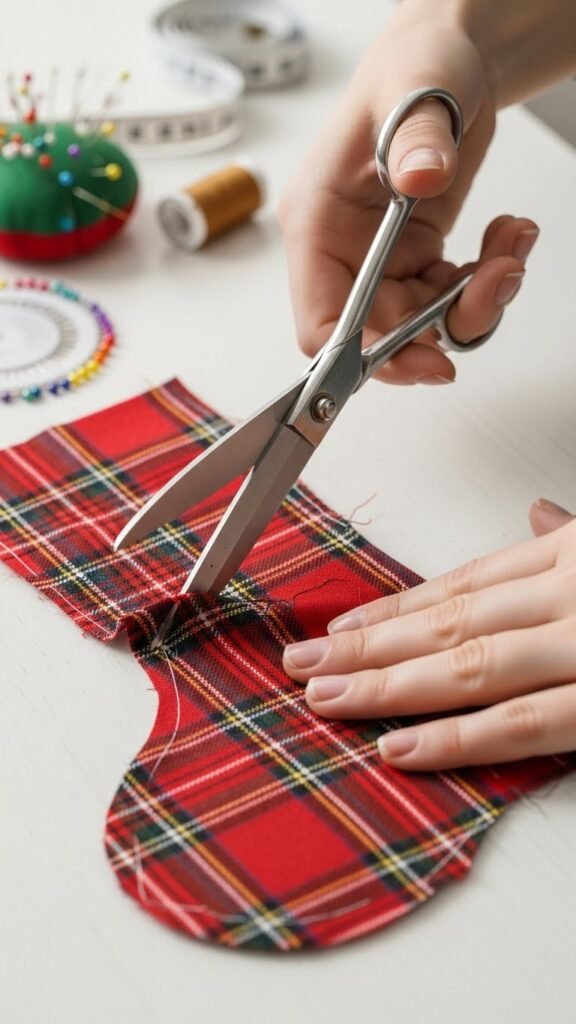
Cut Out Your Stocking Pieces
This step sets the foundation for your stocking, so take your time.
Lay your fabric flat and place your stocking template on top. Cut two identical stocking shapes from your main fabric and two from your lining fabric. Make sure you cut them in mirror images so the pieces align correctly later.
Tips for easy cutting:
- Use clips to hold the template in place.
- Cut slowly around curves.
- Double-check that both pieces match in size.
Sew the Outer Stocking
Now the fun part begins—stitching the pieces together.
Place your two outer fabric pieces right sides together. Pin or clip around the edges and sew along the curve, leaving the top open. Use a small seam allowance (about ¼ inch) for neat results.
Keep the stitching smooth around the toe and heel. Don’t worry if it’s not perfect; the curves will still look great once turned right-side out.
Quick tips:
- Go slow around the rounded areas.
- Backstitch at the beginning and end to secure the seam.
- Trim excess fabric around curves to help the stocking keep its shape.
Sew the Lining Next
Repeat the same process with your lining pieces. Place them right sides together and sew around the edges, again leaving the top open.
The lining creates a clean finish and gives your stocking a more polished look.
If you want, you can also add a small pocket inside before sewing. It’s a cute extra touch for hiding tiny surprises.
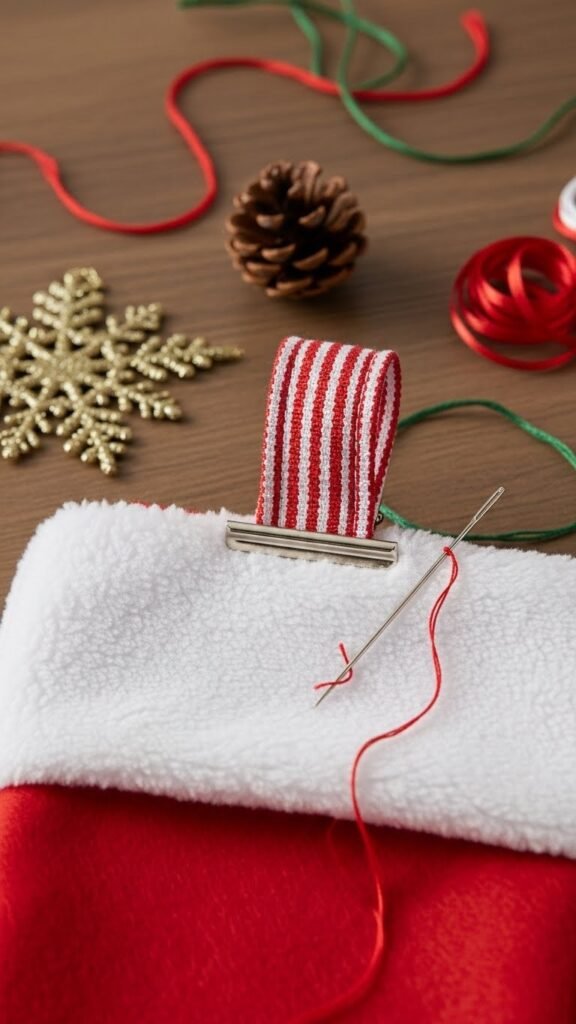
Attach a Hanging Loop
No stocking is complete without a loop to hang it by the mantel.
Cut a strip of fabric around 6 inches long and fold it into a neat loop. Sew along the edge to hold it together. Place the loop inside the outer stocking, aligning it with the back seam at the top edge.
Hold it in place with a clip so it doesn’t shift.
Join the Lining and Outer Fabric
This step brings everything together.
With your outer stocking turned right-side out and your lining turned inside out, place the outer stocking inside the lining. The right sides of the fabric should be touching.
Line up the seams and sew around the entire top edge.
Once sewn, pull the stocking through the lining opening to flip it right-side out. Push the lining down into the stocking and smooth it into shape.
Give the top a quick press with an iron if you want a crisp finish.
Add Decorative Details
Here’s where you can get creative.
A few simple embellishments can make your stocking look store-bought:
- Cuffs made from faux fur or fleece
- Buttons for a rustic touch
- Ribbons stitched along the edge
- Fabric letters to personalize names
- Appliqué shapes like stars, trees, or snowflakes
Keep it simple or go bold—the beauty of DIY is that you can design it exactly how you like.
Tips for Beginners
If you’re new to sewing, these extra tips will help your project look clean and professional:
- Always pin or clip your fabric before sewing.
- Use contrasting or matching thread for a polished look.
- Practice curves on scrap fabric before stitching the stocking.
- Don’t rush—slow sewing is neat sewing.
- Wash and iron your fabric before cutting to prevent shrinking later.
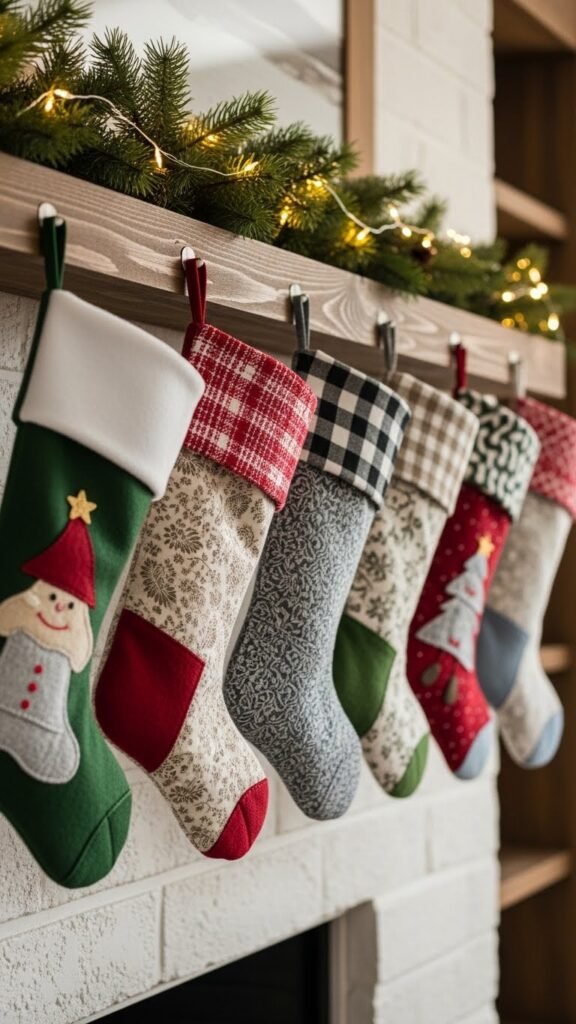
Final Touch & Display
Once your stocking is finished, hang it where everyone can see your handiwork. Add a few sprigs of greenery or small ornaments around it for a truly festive setup.
You can even make a matching set for the whole family using different fabrics while keeping the same shape. It’s a heartwarming project that becomes part of your holiday traditions.
Ready to Make Yours?
Sewing your own Christmas stocking is simple, budget-friendly, and incredibly satisfying. Whether you keep it minimal or add fun details, your handmade stocking will bring warmth and charm to your holiday décor.
Save this tutorial for later and start stitching your cutest Christmas stocking yet!

Leave a Reply