
Nothing transforms a room faster during the holiday season than a beautifully crafted Christmas garland. Whether you’re decorating your mantel, doorway, staircase, or dining table, a handmade garland adds that cozy, personal touch store-bought décor can’t match. The best part? You can create a stunning garland on a budget using simple materials you already have at home.
Let’s walk through how to make your own festive garland—step-by-step, beginner-friendly, and totally customizable to your holiday style.
Choose Your Garland Style
Before you start cutting or tying anything, decide what kind of garland you want. This helps you pick the right materials and keeps your design cohesive.
Popular DIY Garland Styles:
- Classic greenery garland made with faux or real pine branches
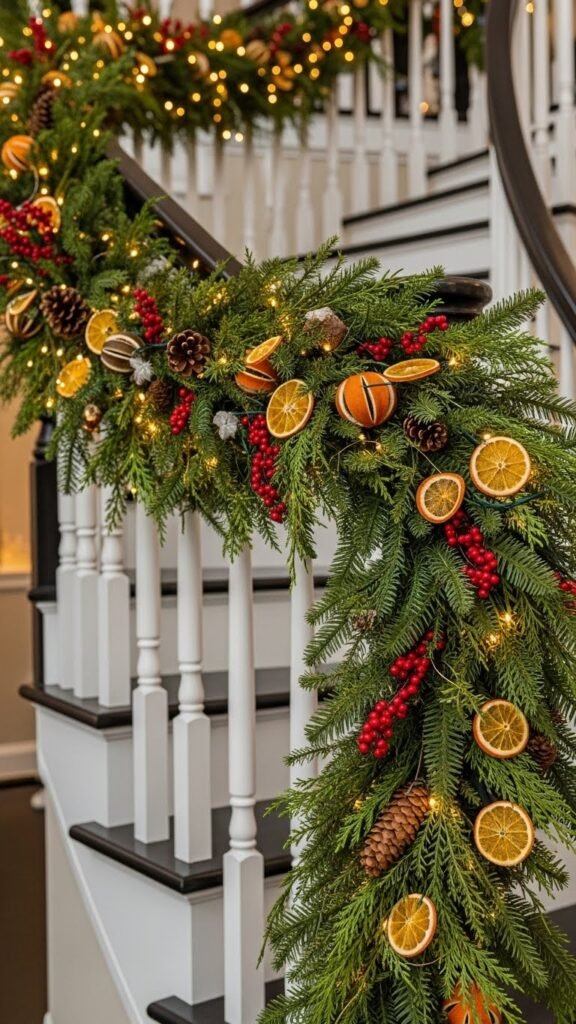
- Dried citrus garland for a warm, natural look
- Ribbon and bow garland for something soft and elegant
- Beaded or wooden garland for a rustic, minimalist vibe
- Mixed-texture garland combining greenery, berries, faux snow, and ornaments

Gather Your Materials
Once you know your style, collect all the supplies. You don’t need anything fancy—just a few basics to bring it all together.
Essential Supplies:
- Base material: twine, rope, or floral wire
- Decorative touches: pinecones, dried fruits, faux berries, small ornaments
- Greenery: real or faux
- Tools: scissors, wire cutters, hot glue gun
Keep everything within reach before you begin.
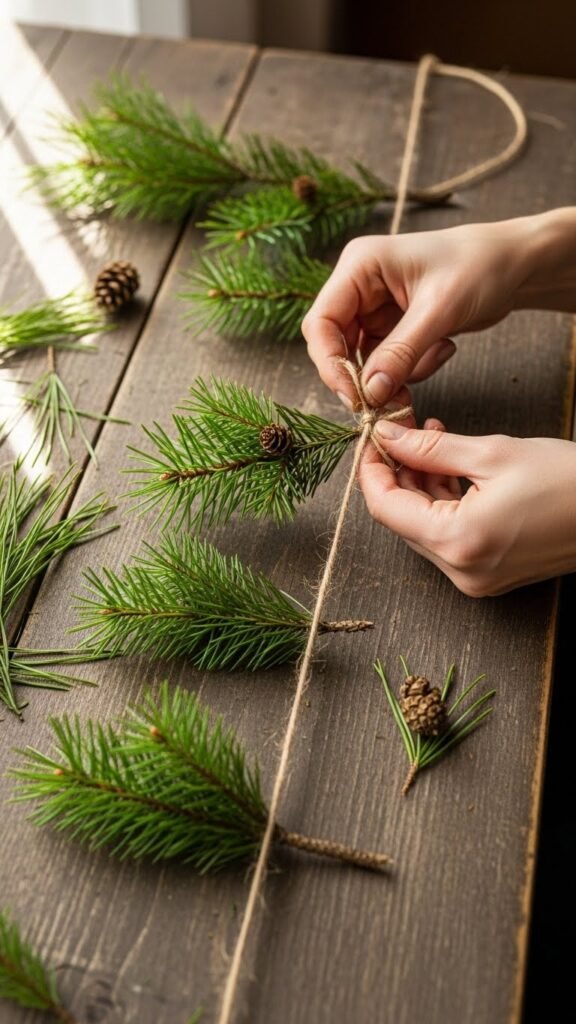
Step-by-Step: Build the Base of Your Garland
This is where your garland truly starts to take shape. Take it slow and layer each piece carefully.
1. Start With Your Main Line
Cut your twine or floral wire to the length of the area you want to decorate. Always add a little extra on each end for tying or adjusting later.
2. Add Your Greenery
If you’re using faux greenery:
- Layer small branches on top of the base.
- Secure with floral wire or twist ties.
- Fluff as you go to keep the garland looking full.
If you’re using real greenery:
- Overlap stems to create a flowing, natural shape.
- Wrap tightly so the branches stay in place.
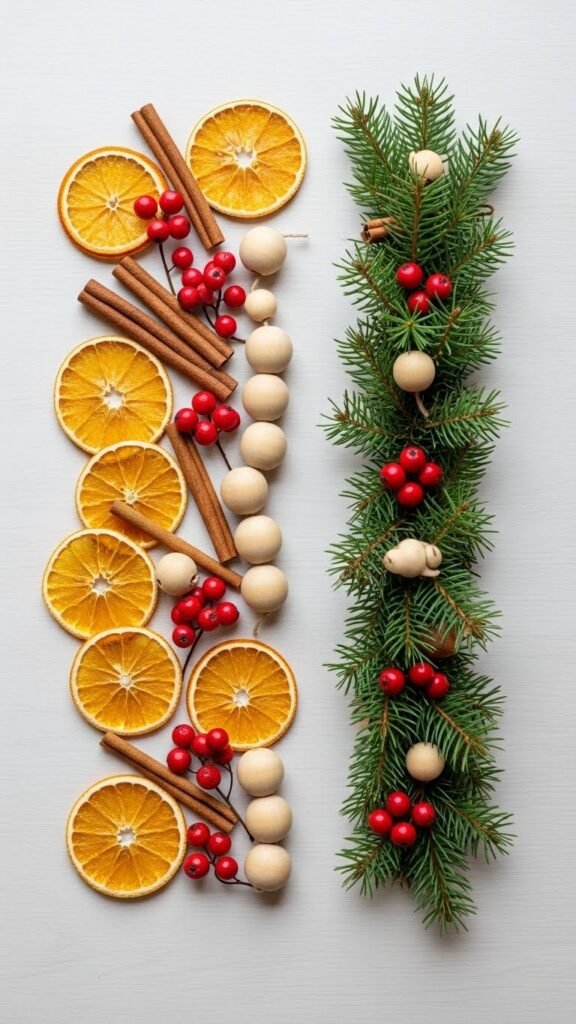
Add Decorative Elements
Now the fun begins! This is where you add personality to your garland.
Try Mixing:
- Dried citrus slices for a warm farmhouse look
- Cinnamon sticks for a cozy scent
- Red berries for bright pops of color
- Small ornaments to match your holiday theme
- Wooden beads for a minimal, Scandinavian style
Attach each decorative item with floral wire or a dab of hot glue. Distribute items evenly so the garland looks balanced from end to end.
Incorporate Lighting (Optional but Magical!)
A string of warm white fairy lights can take your garland from pretty to completely enchanting.
Tips for Adding Lights:
- Choose battery-operated lights if you want a clean, cord-free look.
- Lay the lights along the garland before securing them.
- Wrap gently so the wire blends into the greenery.
- Make sure the switch is accessible for easy on/off.
Lights instantly make the garland feel warm, inviting, and photo-ready.
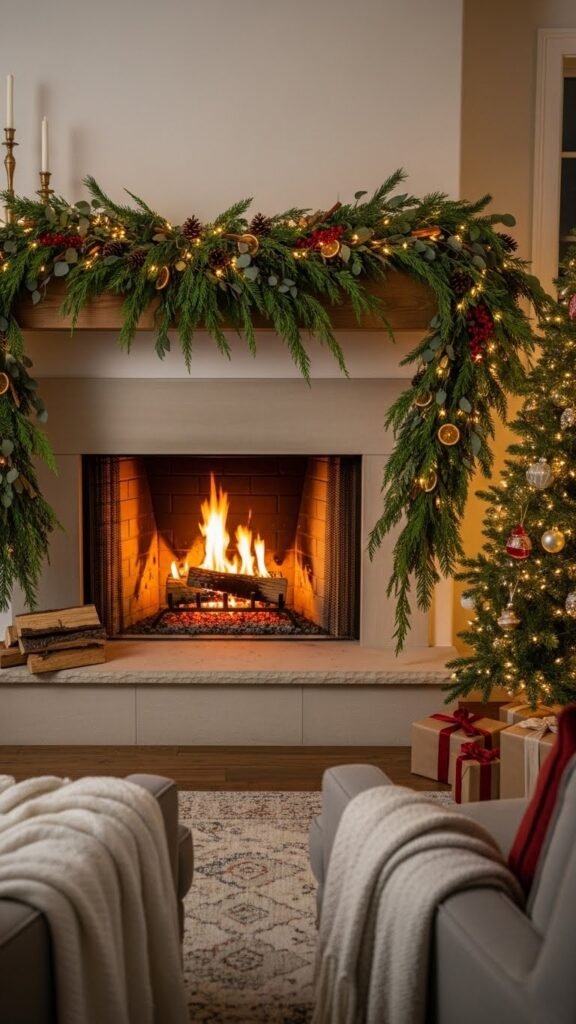
Hang and Style Your Garland
Once your garland is complete, it’s time to display it proudly.
Where to Hang Your Garland:
- Above your fireplace mantel
- Along your staircase railing
- Around a doorway or entry arch
- Across a dining room buffet or console table
- On a wall as a festive feature
Use removable hooks, nails, or decorative ribbon to secure it without damaging surfaces.
Final Touches:
- Fluff the greenery
- Adjust spacing between decorative elements
- Hide any wire or glue spots
- Add a statement bow at one end if you want extra charm
Tips to Keep It Budget-Friendly
- Use leftover ribbon or old ornaments from previous years.
- Collect pinecones from your backyard or local park.
- Dehydrate your own citrus slices instead of buying them.
- Mix real and faux greenery for a lush look without extra cost.
Takeaway
Creating your own DIY Christmas garland is easier than you think—and the results are stunning. With just a few simple materials, you can craft a festive decoration that brightens any room and adds a warm, handmade touch to your holiday celebrations.
Save this guide for later and try your own garland this weekend!

Leave a Reply