
Creating handmade Christmas cards is one of the sweetest ways to show someone you care. There’s something magical about adding your own touches—glitter, ribbons, brushstrokes, or pressed greenery—that instantly makes a card feel special. Whether you’re a seasoned crafter or trying this for the first time, designing DIY Christmas cards is fun, relaxing, and incredibly rewarding.

In this guide, you’ll learn simple, creative techniques to make Christmas cards that look thoughtful, polished, and totally unique—without needing expensive materials or advanced art skills.
Choose Your Card Base and Style
Before decorating, you need the right foundation. Card bases determine the style, texture, and overall look of your design.
Kraft Paper for Rustic Charm
Kraft cardstock creates a warm, earthy style perfect for natural designs. Pair it with twine, dried flowers, or hand-drawn ornaments.
White or Cream Cardstock for Minimalist Elegance
If you love a clean, modern look, go with white or cream. These bases let watercolor art, calligraphy, or metallic accents pop beautifully.
Colorful Card Bases for Playful Designs
Red, green, or navy card bases add instant holiday cheer and work well with cut-outs, layered paper, or bold illustrations.
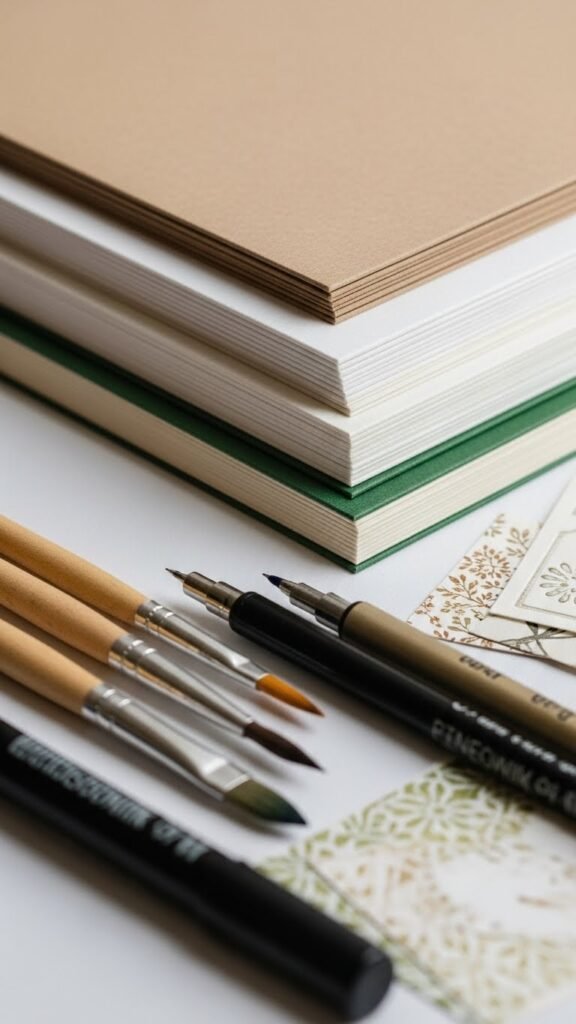
Gather Simple, Affordable Crafting Tools
You don’t need a full art studio to make beautiful cards. Most supplies are inexpensive and easy to find.
Essential Supplies to Start With
- Cardstock sheets
- Glue stick or double-sided tape
- Scissors
- Markers or gel pens
- A ruler
- Colored paper scraps
Optional Extras to Elevate Your Designs
- Metallic pens
- Watercolor paints
- Ribbon or twine
- Buttons or small embellishments
- Stickers and stencils
Keep your workspace simple. Even with just a few items, you can create impressive designs.
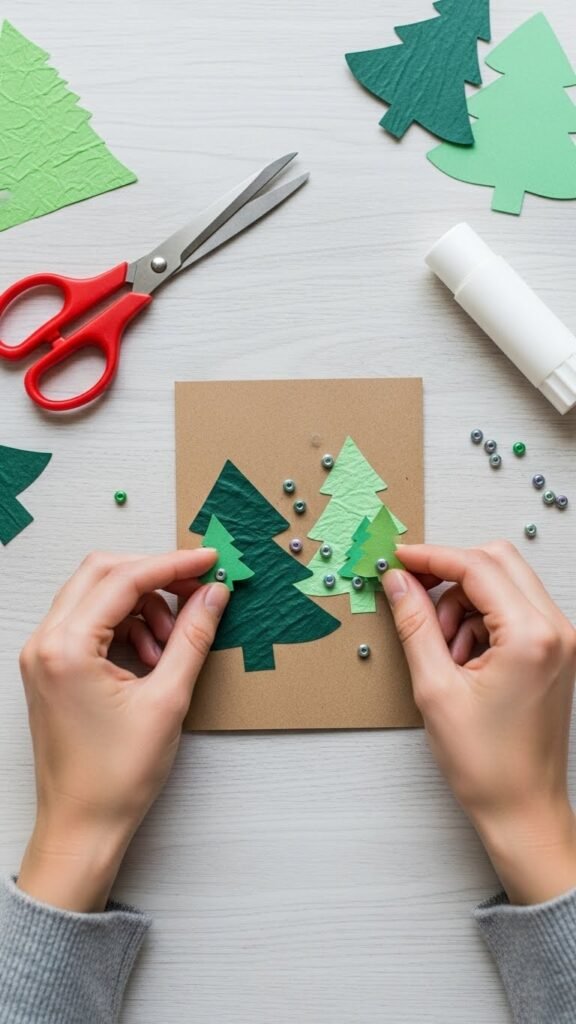
Add Stunning Elements With Layering and Texture
Layering is one of the easiest ways to make a handmade card look professional. It adds depth, contrast, and visual interest.
Paper Layering Ideas
- Tear white paper to create snowy hills.
- Cut out shapes like stars, Christmas trees, or stockings.
- Overlap patterned papers for a scrapbook-inspired look.
Texture Techniques
- Add twine or ribbon borders.
- Glue on tiny beads or pressed leaves.
- Use embossed paper for a luxury feel.
Create Artful Designs Using Easy Drawing and Painting Techniques
Even if you’re not a skilled artist, simple illustrations can look charming and festive.
Simple Drawing Ideas
- Outline trees with dots or lines.
- Sketch tiny ornaments hanging from thin branches.
- Draw stars, snowflakes, or gift boxes.
Easy Watercolor Ideas
- Paint soft watercolor backgrounds in icy blue or evergreen tones.
- Add watercolor circles and turn them into ornaments with marker details.
- Make a snowy night sky using blues and whites.
Allow your designs to dry fully before adding more layers.
Incorporate Natural Elements for a Cozy Organic Look
Nature-inspired cards always feel warm and thoughtful.
Try Adding:
- Pine sprigs
- Pressed leaves or flowers
- Dried citrus slices
- Mini cinnamon sticks
- Tiny pinecones
Lightweight natural pieces work best so your cards don’t feel bulky.

Personalize Your Christmas Cards With Thoughtful Messages
A card’s design may catch the eye, but your message warms the heart. Keep your greetings simple and heartfelt.
Short Sentiment Ideas
- “Wishing you a cozy and joyful Christmas.”
- “Warm holiday hugs to you and yours.”
- “May your season sparkle with kindness.”
Add a Personal Touch
- Include the year in small handwriting.
- Add the recipient’s name in elegant lettering.
- Write a memory or a small note inside.
Consider practicing your lettering on scrap paper first so it looks smooth and clean on the final card.
Use Stamps and Stencils for Easy, Polished Designs
If you want cards that look crisp and neat without hand-drawing everything, stamps and stencils are your best friends.
Why Stamps Are Great
- They produce consistent designs.
- They’re fast and easy for making multiple cards.
Stencil Tips
- Use soft dabbing motions with a sponge or brush.
- Tape the stencil lightly to avoid slipping.
- Try layering colors for depth.
You can mix stamped shapes with hand-drawn lines or paper cut-outs for creative combinations.
Add Finishing Touches for a Magical Result
Small extras make your cards look complete and polished.
Ideas for Finishing Details
- Use metallic pens to add glowing edges or stars.
- Add a strip of patterned paper to the back edge of the card.
- Lightly brush glue on a corner and sprinkle glitter sparingly.
- Tie a tiny bow and attach it to your design.
A few thoughtful details go a long way.
Final Takeaway
Handmade Christmas cards aren’t just crafts—they’re personal gifts. Every stroke, layer, and detail reflects time, care, and love. With simple tools and a bit of creativity, you can design cards that feel truly special and impress everyone on your holiday list.
Want to try more festive DIY projects? Save this guide for later!

Leave a Reply