
A beautiful Christmas banner instantly transforms any room into a holiday-ready space. Whether you’re hosting a cozy family gathering or a big holiday party, a handcrafted banner adds that personal, heartwarming touch store-bought décor can’t match. The best part? You can make one with simple, budget-friendly supplies and a bit of creativity.
In this guide, you’ll learn how to design, assemble, and style a festive DIY Christmas banner that feels cheerful, custom, and totally party-ready.
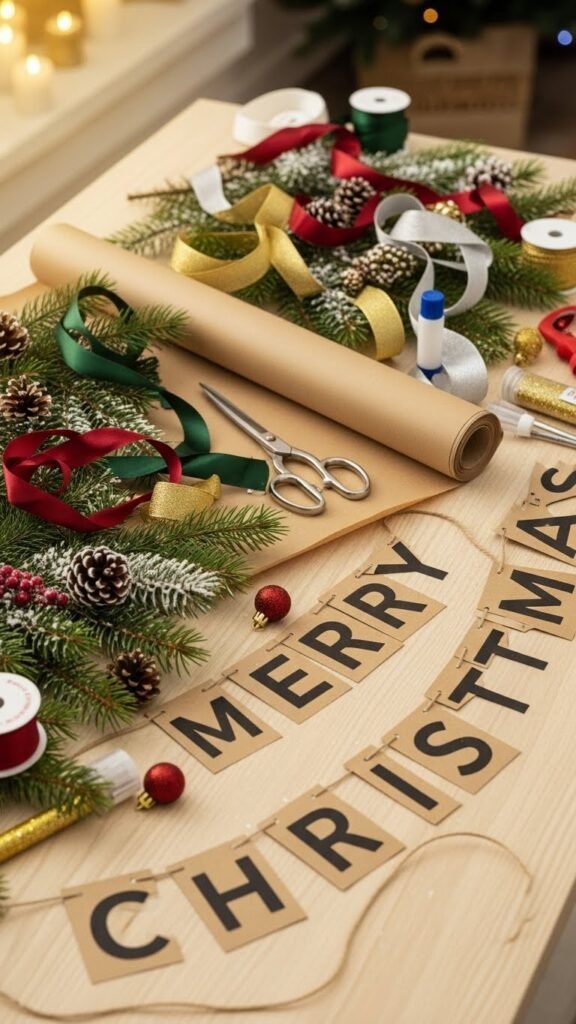
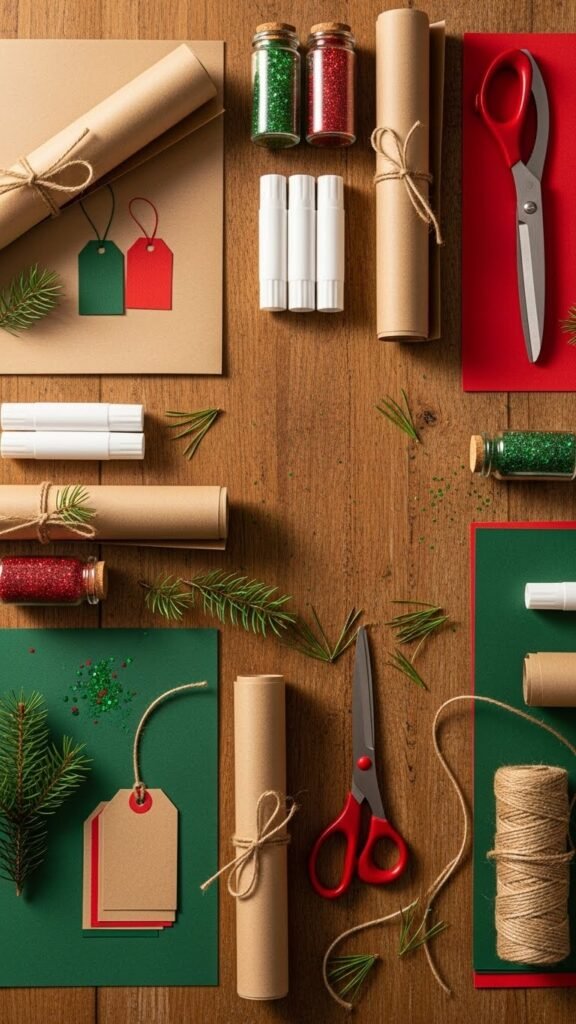
Gather Your Supplies
Before you start crafting, take a few minutes to organize everything you’ll need. Keeping supplies in one place makes the process smoother and more enjoyable.
Here are some essentials you can use:
- Cardstock or kraft paper
- Twine or thin ribbon
- Scissors or craft knife
- Mini clothespins (optional)
- Hole punch
- Glitter, greenery, buttons, or embellishments
- Stencils or letter cutouts
Choose materials that match your theme—traditional red and green, rustic farmhouse, or clean minimal neutrals.
Choose Your Banner Style
Christmas banners come in many shapes and layouts. Picking the right style helps set the tone for your party décor.
Popular Styles to Consider
- Triangle Pennant Banner
Classic, simple, and easy to customize with letters or patterns. - Rectangle Flag Banner
Great for longer messages or adding layered textures. - Scalloped Edge Banner
Soft, cute, and perfect for a cozy or whimsical Christmas theme. - Mixed-Shape Banner
Combine stars, trees, bells, and circles for a playful look.
Think about your space. For example, a wide mantel might look best with larger pennants, while a doorway or wall display may work better with smaller, lightweight pieces.
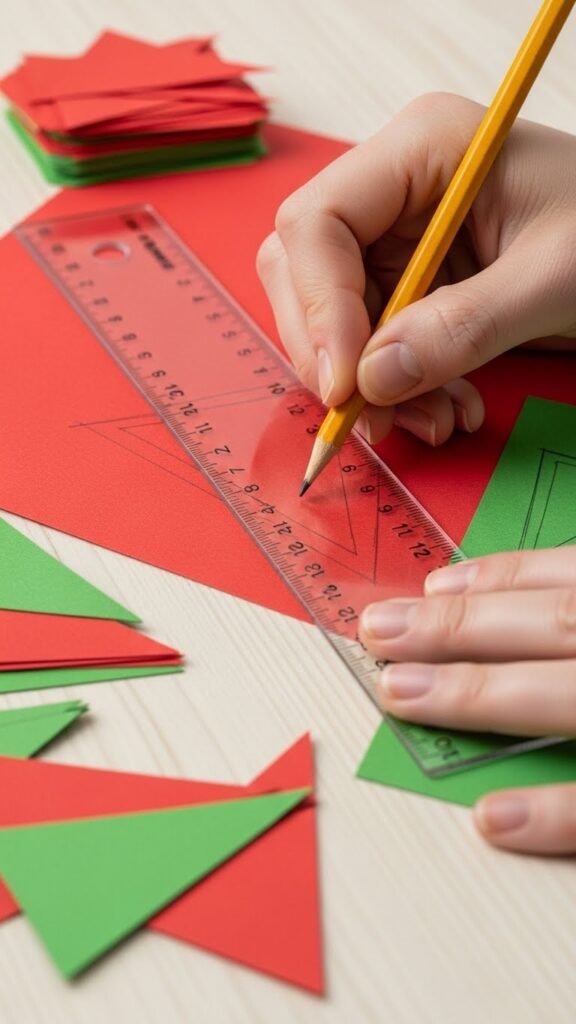
Cut and Prepare Your Shapes
Once your style is set, start cutting your chosen shapes from cardstock or kraft paper. Keep the sizes consistent so the banner looks neat and balanced.
Tips for Smooth Cutting
- Use a sturdy ruler to measure each shape before cutting.
- A craft knife gives cleaner edges than scissors for straight lines.
- If you want perfect curves, use cookie cutters as tracing guides.
- For an extra layer of charm, glue a smaller decorative shape on top of each banner piece.
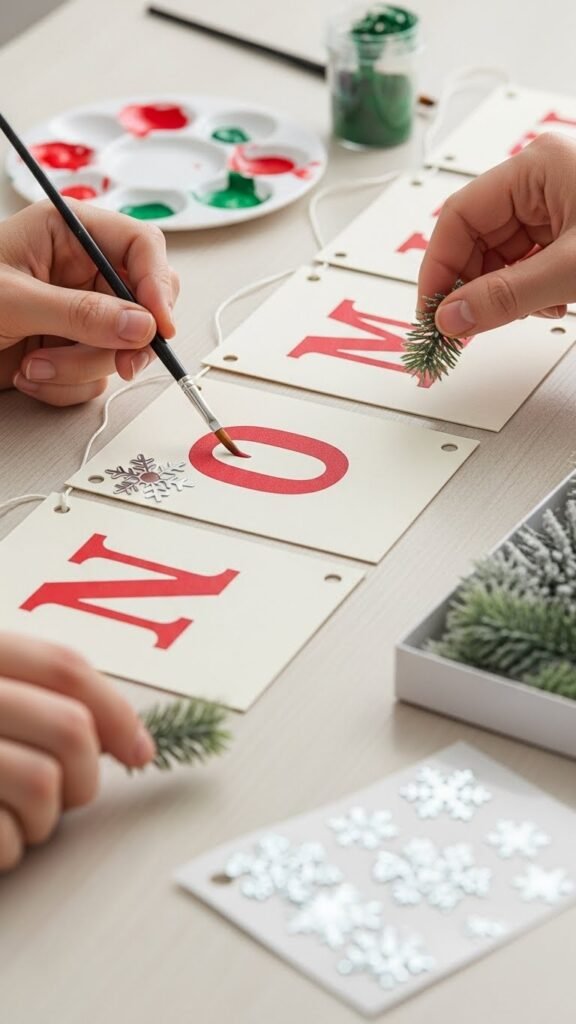
Add Letters or Designs
This is where your banner becomes truly personal. You can spell out “Merry Christmas,” “Joy,” “Let It Snow,” or any short festive phrase.
Design Ideas
- Trace stencils for even lettering.
- Use white paint pens for bold contrast.
- Add mini snowflake stickers for texture.
- Layer letters onto patterned paper for a pop of detail.
- Add greenery like tiny pine sprigs or faux berries for a rustic finish.
If you’re making a mixed-shape banner, decorate each piece with different holiday symbols like Christmas trees, gingerbread men, or candy canes.
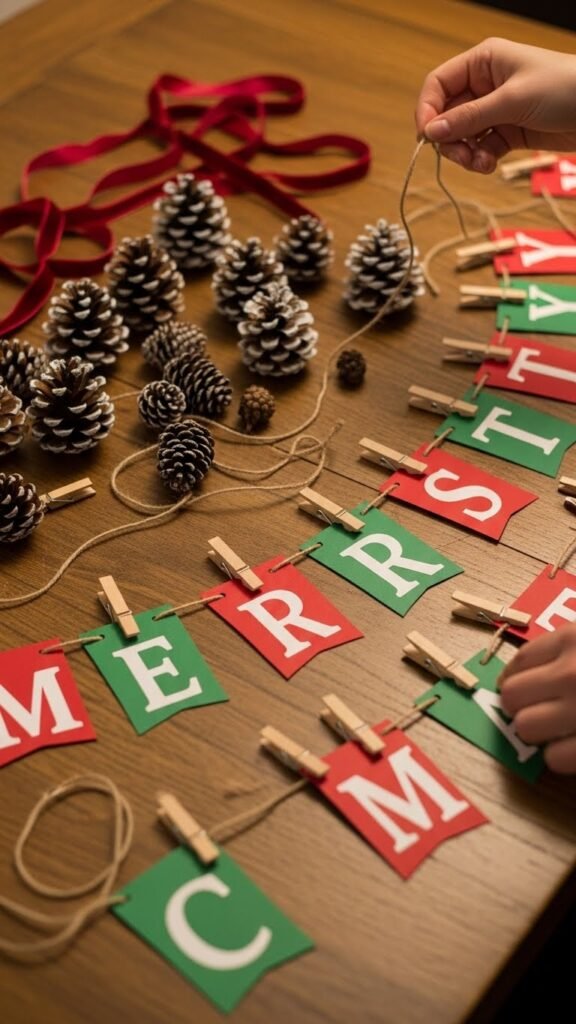
Assemble the Banner
Now that your pieces are decorated, it’s time to connect everything.
Two Easy Ways to String Your Banner
- Hole-Punched Method
Punch two holes at the top of each piece and thread twine through them.
This creates a clean and classic look. - Clothespin Method
Clip each piece to the twine using mini clothespins.
This makes it easy to rearrange or swap pieces later.
Keep some extra length on both ends of the twine so you can tie or tape the banner securely in place.
Hang and Style Your Banner
Once your banner is assembled, place it somewhere it can shine—your party entryway, mantel, dessert table, or even your photo backdrop.
Styling Tips
- Add a bit of greenery or fairy lights around the banner for a glowing, festive effect.
- Hang it slightly curved rather than straight to give it a softer, more natural drape.
- Layer two banners together—for example, a phrase banner plus a garland of stars.
- If using outdoors, choose weather-resistant materials like laminated cardstock or felt.
This final styling step brings your party décor together and gives your banner a polished, Pinterest-worthy look.
Final Touches and Variations
Here are a few creative twists you can try:
- Create a kids’ coloring banner with blank shapes they can decorate.
- Make a fabric banner by cutting shapes from leftover cloth or felt.
- Try a mini banner for your hot cocoa bar or dessert station.
- Add tiny bells, buttons, or faux berries for a playful finish.
The possibilities are endless, and each version adds a unique holiday charm.
Wrap-Up
A DIY Christmas banner is an easy, joyful way to elevate your party décor without spending much money or time. With a few simple tools and your own creativity, you can make something beautiful, meaningful, and perfectly suited for the holidays.
Save this guide for later and start crafting your festive banner today!

Leave a Reply