
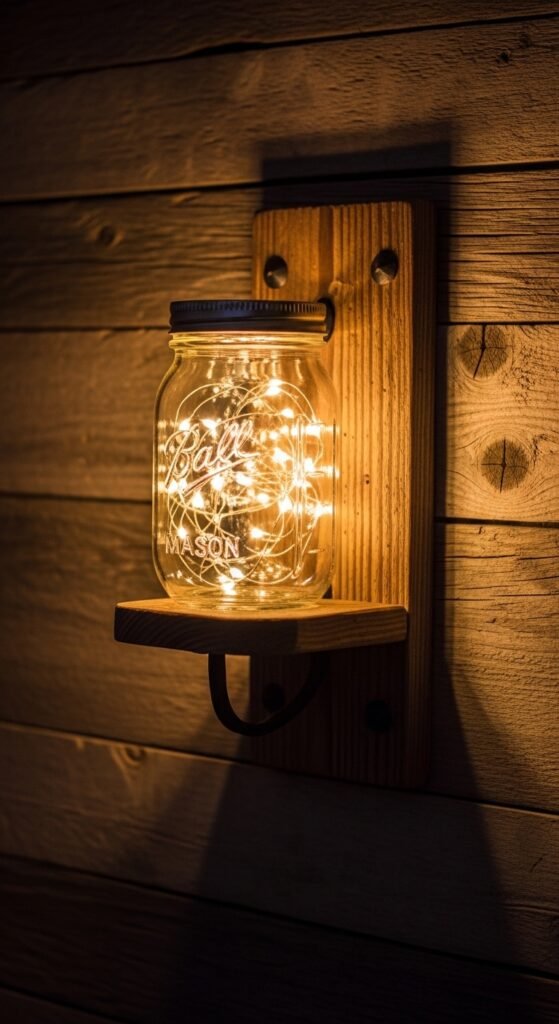
If you’re looking to add a charming, rustic touch to your home decor, Mason jar wall sconces are the perfect DIY project. These simple yet stunning pieces can transform any room into a cozy, warm retreat. Whether you want to light up your living room or create a romantic ambiance in your bedroom, these sconces are a cost-effective and beautiful way to bring a rustic vibe to your space. Plus, they make an excellent gift idea for anyone who loves DIY home decor!
[Image Prompt] A beautifully lit rustic Mason jar wall sconce with warm fairy lights glowing inside, mounted on a wooden plank.
In this guide, we’ll walk you through the easy steps to create your own Mason jar wall sconces. With just a few basic materials, a little creativity, and a touch of patience, you’ll be able to craft these rustic beauties in no time. Let’s get started!
Materials You’ll Need
Before you dive into crafting your Mason jar wall sconces, make sure you have all the necessary materials on hand. Here’s what you’ll need:
- 2 Mason jars (any size you prefer)
- 2 small wooden planks or pieces of reclaimed wood (approximately 10-12 inches long)
- 2 wall-mounted brackets or hooks
- Battery-operated fairy lights or small LED bulbs
- 2 strong screws and wall anchors
- Sandpaper (for distressing wood, if desired)
- Wood stain or paint (optional)
- Drill with bits
- Hot glue gun and glue sticks
Once you’ve gathered your materials, you’re ready to start the crafting process!
Step 1: Prepare the Mason Jars
The first step is to get the Mason jars ready for use as light holders. You can use jars in any size, but medium-sized ones are the most common for sconces. If you’re using used jars, give them a thorough clean with warm water and soap, then dry them completely.
Next, you can customize your Mason jars to match the rustic theme. You might want to distress the glass with a bit of sandpaper or add some twine around the neck for added charm. If you’re feeling crafty, you can also apply a coat of frosted glass spray for a softer, more diffused light when the bulbs are turned on.
[Image Prompt] A close-up shot of distressed Mason jars with twine around the neck, perfect for rustic decor.
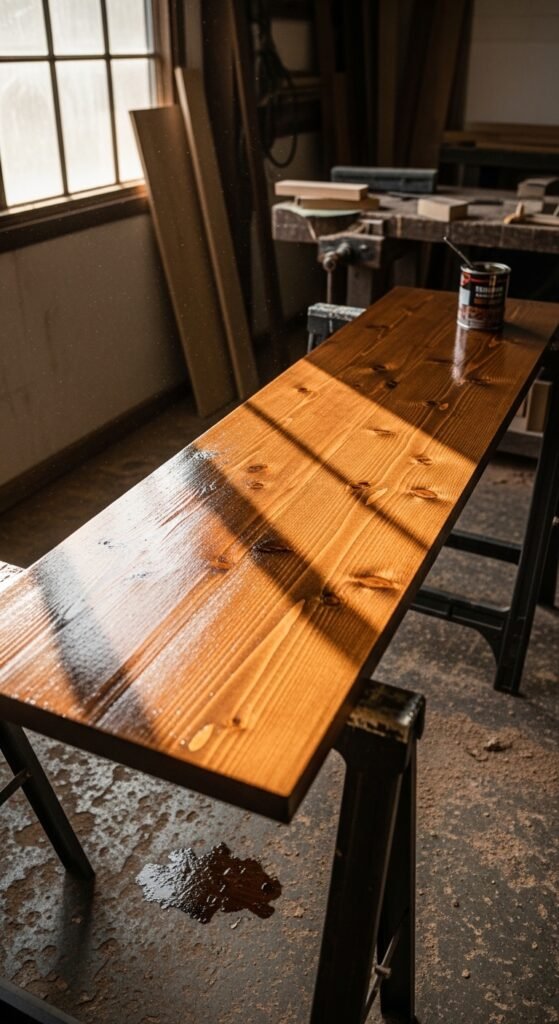
Step 2: Prepare the Wooden Planks
Take your wooden planks and give them a light sanding if needed. If you want a weathered, rustic look, use sandpaper to distress the wood. To enhance the wood’s natural beauty, apply a coat of wood stain in your favorite shade. Darker shades like walnut or mahogany will give a more rustic, vintage vibe, while lighter stains will offer a more beachy or farmhouse feel.
After the stain has dried, attach the wall-mounted brackets or hooks to the back of each plank. The brackets will hold the Mason jars in place, so ensure they are securely attached. Make sure that the brackets are evenly spaced so that the jars will hang symmetrically.
Step 3: Attach the Mason Jars to the Wooden Planks
Now comes the fun part: securing the Mason jars to the wooden planks! Take your jars and position them on the wooden planks, centered over the hooks. Depending on your design, you can place them side by side or at a slight angle to create a more organic, asymmetric look.
Once you’re happy with the positioning, use the hot glue gun to secure the jars to the hooks. You’ll want the jars to stay in place, but remember that the hooks will still allow for easy removal of the jars if you need to change the batteries or lights.
Step 4: Install the LED Lights
Next, place the battery-operated fairy lights or small LED bulbs inside each Mason jar. If you’re using fairy lights, simply coil them up and stuff them inside the jar. For a more dramatic effect, use a string of lights with a timer so the sconces will automatically turn on and off at a certain time each day.
Once the lights are securely in the jars, carefully thread the power pack or battery compartment through the back of the wooden plank. Make sure the battery pack is easily accessible so you can switch it on or off without removing the jars.
Step 5: Mount the Sconces on the Wall
After you’ve attached the jars and installed the lights, it’s time to mount the sconces on the wall. Use a drill to make holes in the wall where you want to position the sconces. Insert the wall anchors into the holes, and then attach the wooden planks securely using screws.
Make sure that the sconces are level and positioned at the desired height. Once they are firmly in place, turn on the lights to admire the cozy, rustic glow they emit!
Final Touches
For extra flair, consider adding greenery or other decorative elements around the Mason jars. You could wrap some faux ivy or eucalyptus leaves around the jars or hang a few small decorative signs on the plank to personalize the sconces. The best part of this project is that you can customize it to suit your style and the specific room in which the sconces will be installed.
Conclusion
Mason jar wall sconces are the perfect DIY project to bring a touch of rustic charm to your home. Not only are they easy to make, but they also provide a soft, cozy light that’s ideal for creating a warm atmosphere in any room. Plus, they make a great gift for friends and family who love farmhouse or vintage-style decor.
So, grab your materials, follow these simple steps, and let your creativity shine as you craft your very own rustic Mason jar wall sconces. And don’t forget to share your finished project on Pinterest — we can’t wait to see how you style them!
[Image Prompt] A cozy living room setting with two Mason jar wall sconces glowing softly above a vintage armchair.
Save this DIY for later, and start creating your own rustic lighting today!

Leave a Reply