
A headboard can completely change how a bedroom feels. It adds height, texture, and personality—often more than any other single piece of furniture. The best part? You don’t need a big budget or advanced tools to build one yourself. With a little planning and creativity, a custom headboard can look high-end while still being practical and affordable.

This guide walks you through simple, realistic steps to build a custom headboard that feels intentional and polished, even if it’s your first DIY project.
Why a Custom Headboard Makes Such a Big Impact
A headboard does more than protect the wall behind your pillows. It anchors the bed and sets the tone for the entire room.
Here’s why DIY headboards are worth it:
- They make standard beds look custom and styled
- You control the size, color, and texture
- They’re often cheaper than store-bought options
- You can match them perfectly to your room style
Whether you like modern, farmhouse, or cozy neutral spaces, a custom headboard helps the bedroom feel finished.
Choose the Right Style Before You Build
Before buying materials, decide what kind of headboard fits your space. This step saves time and prevents wasted supplies.
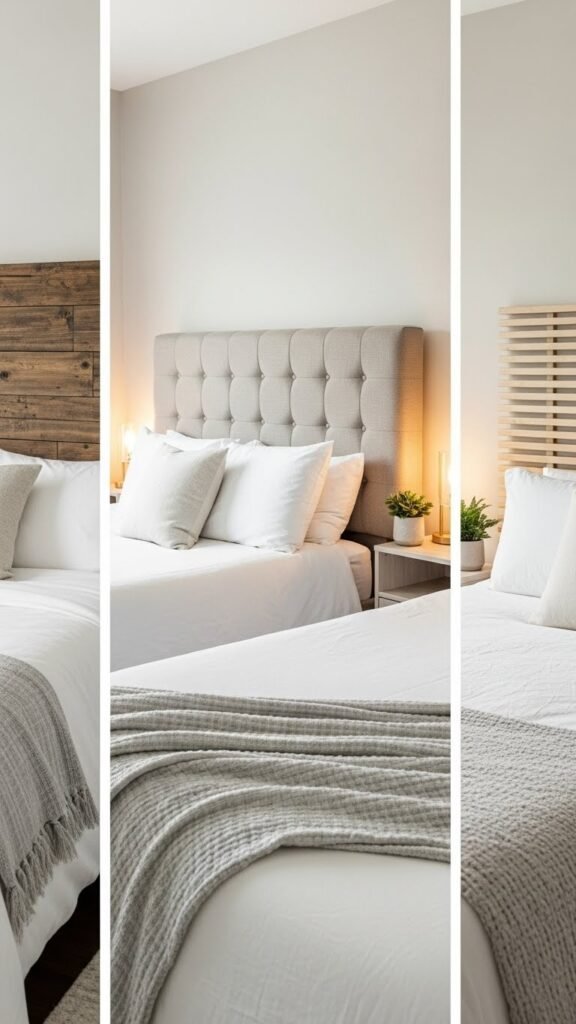
Popular DIY-friendly styles include:
- Simple wood panel headboards for a clean, modern look
- Upholstered headboards for softness and comfort
- Slatted or plank designs for texture and visual interest
- Wall-mounted headboards for small rooms or floating beds
Ask yourself:
- Do I want something soft or structured?
- Should it go all the way to the floor or just above the mattress?
- Do I want it attached to the bed or the wall?
Gather Budget-Friendly Materials and Tools
Most DIY headboards use simple supplies you can find at a hardware store or already have at home.
Common materials:
- Plywood or MDF board (for the base)
- Wood planks or trim (for texture)
- Foam and batting (for upholstered styles)
- Fabric or paint
- Screws, wall anchors, or mounting brackets
Basic tools:
- Measuring tape
- Drill
- Level
- Staple gun (for fabric)
- Sandpaper or sander
Tip: Many stores will cut wood to size for free or a small fee. This makes the project much easier if you don’t own power saws.
Step-by-Step: Building a Simple Custom Headboard
This example works for both wood and upholstered styles with small adjustments.
1. Measure Your Bed and Wall
Measure the width of your mattress and decide how tall you want the headboard. Taller headboards add drama, while shorter ones feel subtle.
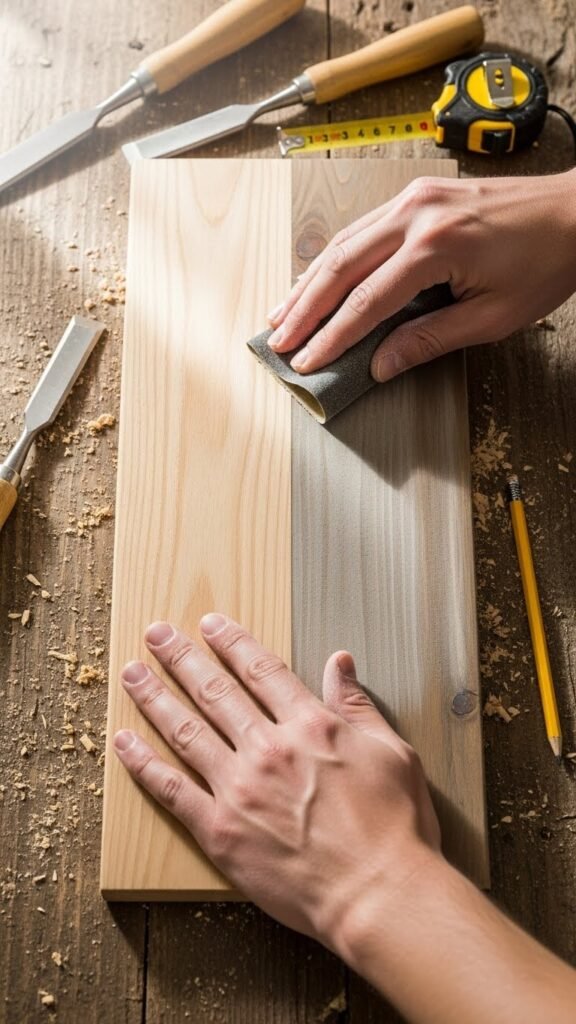
2. Prep the Base
Sand the board lightly. This helps paint, stain, or fabric adhere better.
3. Add Texture or Padding
- For wood: Attach planks, trim, or panels evenly
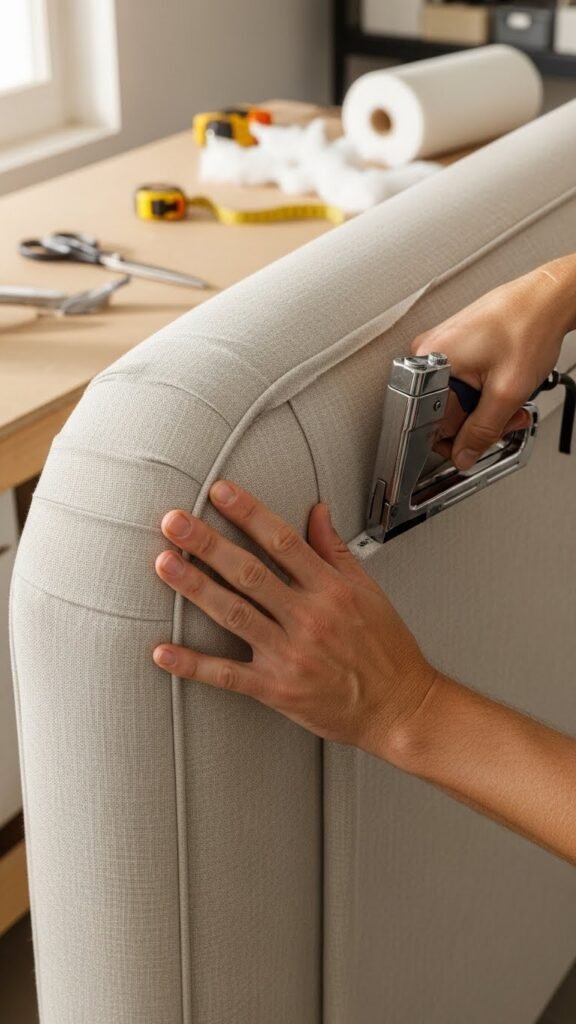
- For upholstery: Glue foam to the board, then wrap batting over it
4. Finish the Surface
Paint, stain, or wrap fabric tightly around the back and secure it with staples.
Mounting Options That Look Professional
How you install the headboard matters just as much as how it’s built.
Common mounting methods:
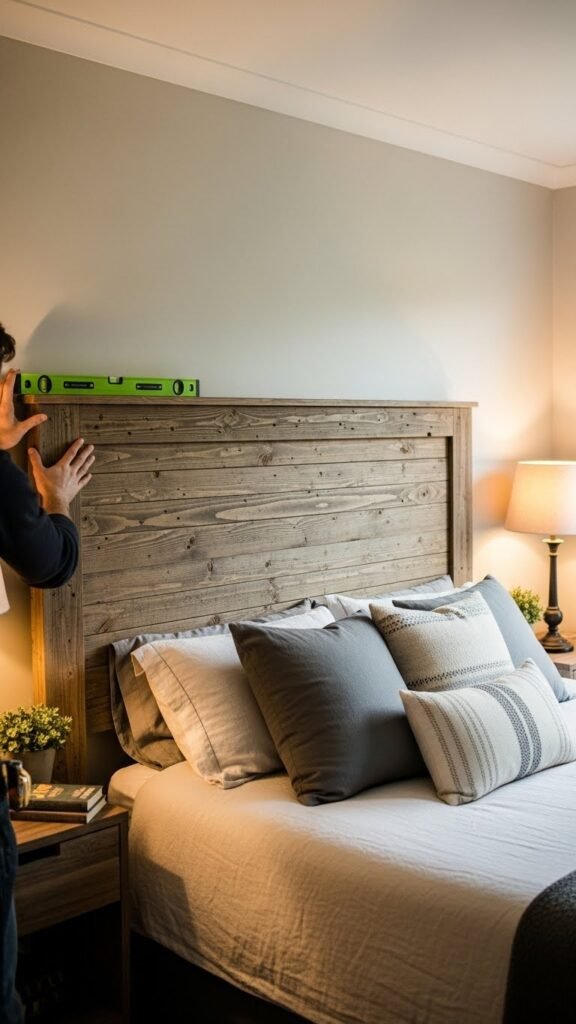
- Wall-mounted: Secure directly into wall studs for a floating look
- Bed-frame mounted: Attach to the existing frame for easy moving
- Floor-standing: Lean or secure to the wall behind the bed
Always use a level to keep everything straight. A slightly crooked headboard can throw off the whole room.
Styling Tips to Make It Look High-End
Once installed, styling brings the headboard to life.
Easy upgrades:
- Layer pillows in different sizes
- Add wall sconces or plug-in lights
- Keep bedding simple so the headboard stands out
- Use neutral colors for a timeless look
Less is more. Let the headboard be the statement.
Final Takeaway
Building a custom headboard is one of the easiest ways to transform a bedroom without a full makeover. With simple materials, clear steps, and a bit of patience, you can create something that looks custom-made and truly personal.
Save this idea for later, gather your supplies, and turn your bed into the centerpiece it deserves.

Leave a Reply