
There’s something instantly satisfying about a pillow that looks like it came straight from a high-end home store—clean seams, crisp corners, and a perfect fit. The best part? You can absolutely make that look at home, even if you’re not an expert sewist. With the right fabric, a few simple techniques, and some insider finishing tricks, DIY pillow covers can look polished and professional.
[Image Prompt] A cozy living room sofa styled with neutral throw pillows featuring clean seams, tailored edges, and textured fabrics, photographed in soft natural light with a high-end, magazine-style feel.
In this guide, I’ll walk you through exactly how to sew pillow covers that look store-bought, step by step, without complicated patterns or stress.
Choose Fabric That Instantly Elevates the Look
The fabric you choose does most of the visual work. Store-bought pillows often rely on texture and weight rather than bold prints.
Look for:
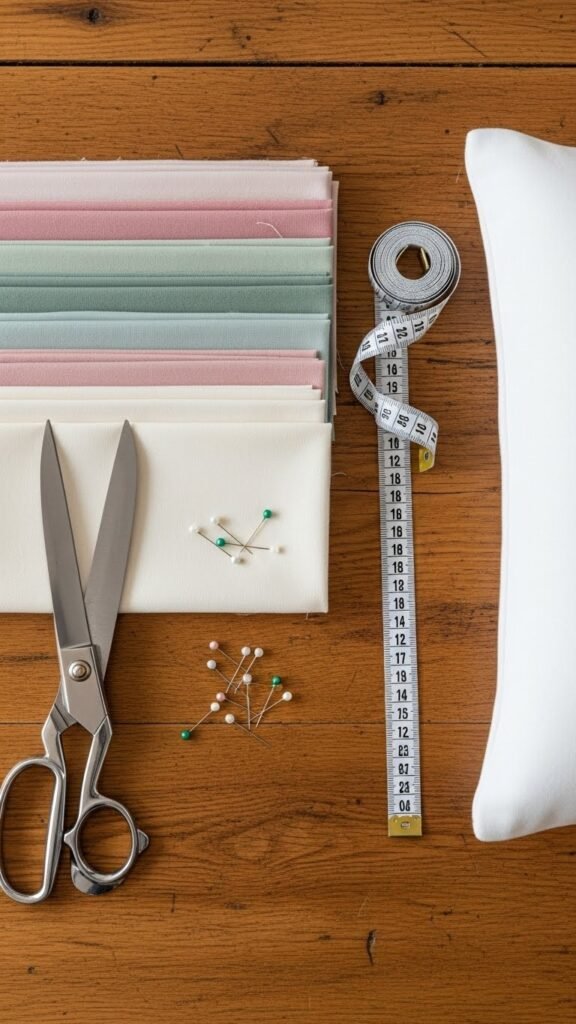
- Medium- to heavy-weight fabrics like linen blends, cotton canvas, or upholstery fabric
- Subtle textures such as slubbed linen, soft boucle, or woven cotton
- Solid colors or simple patterns that won’t overwhelm the space
Before sewing, always prewash and dry your fabric. This prevents shrinking later and helps the finished cover keep its shape.
Pro tip: Press your fabric before cutting. Smooth fabric equals straighter seams and a cleaner final result.
Measure Properly for a Full, Tailored Fit
A common DIY mistake is making pillow covers too loose. Store-bought pillows usually fit snugly around the insert.
Here’s the trick:
- Measure your pillow insert
- Cut fabric 1 inch smaller than the insert size
For example, if your insert is 18 x 18 inches, cut your fabric to 17 x 17 inches (plus seam allowance). This creates that plump, professional look.
Decide on a Closure That Looks Polished
The closure style can make or break the “store-bought” feel. These options look clean and intentional:
Envelope Back (Beginner-Friendly)
- Overlapping fabric panels on the back
- No zippers or buttons required
- Great for casual but refined styles
Zipper Closure (Most Professional)
- Invisible or regular zipper along the bottom seam
- Keeps the pillow perfectly square
- Ideal for modern or tailored designs
Button Closure (Decorative Touch)
- Adds charm without feeling busy
- Best for farmhouse or cozy styles
If you’re new to sewing, an envelope back is a great place to start. For a truly high-end finish, a hidden zipper is worth learning.
Sew with Clean, Consistent Seams
This is where the magic happens. Take your time here—slow sewing leads to better results.
Steps:
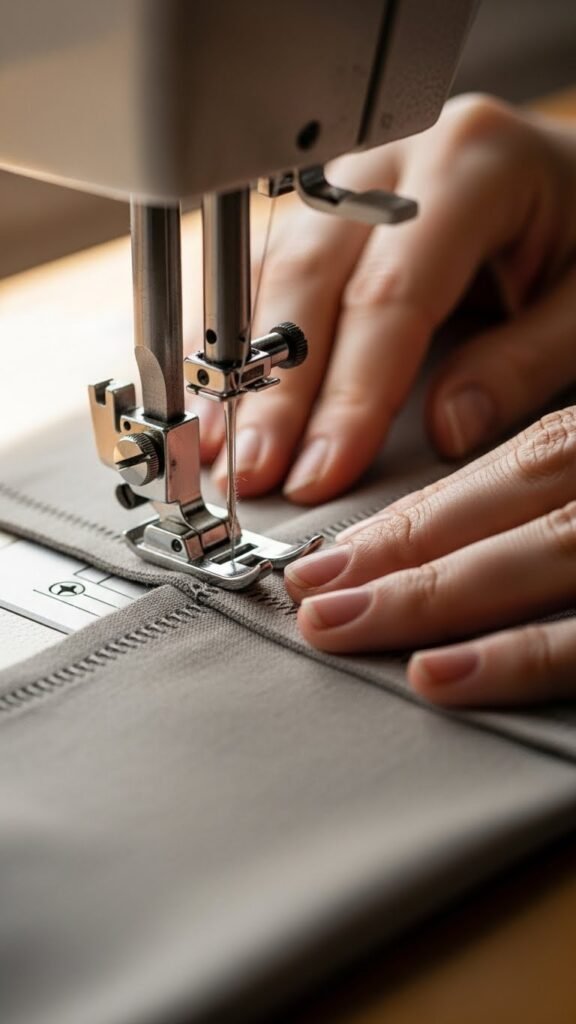
- Place fabric pieces right sides together
- Pin or clip edges to keep fabric from shifting
- Sew using a ½-inch seam allowance
- Backstitch at the start and end for durability
After sewing, trim excess threads and press seams open or flat. Pressing is what gives pillows that crisp, finished look.
Master Sharp Corners and Smooth Edges
Sharp corners instantly signal quality. Before turning your cover right-side out:
- Trim seam allowance at each corner (don’t cut through stitching)
- Turn the cover and gently push corners out using a blunt tool
Once turned, give the entire cover a good press.
[Image Prompt] A finished pillow cover being pressed with an iron, showing crisp edges and smooth fabric on a light-colored ironing board.
This step alone can take a pillow from “homemade” to “store display.”
Insert the Pillow Like a Pro
Don’t just stuff the insert in and call it done. Use this technique:
- Fold the insert in half like a taco
- Slide it into the cover
- Push it fully into the corners before letting it expand
Fluff the pillow and adjust until it sits evenly. If needed, give it one final press along the edges.
Small Details That Make a Big Difference
These finishing touches are what elevate your pillow covers:
- Topstitch around the edges for a tailored look
- Use matching thread for invisible seams
- Stick to a consistent seam allowance throughout
If your fabric frays, consider finishing seams with a zigzag stitch or pinking shears for durability.
Style and Swap with Confidence
One of the best parts of sewing your own pillow covers is how easy it is to refresh your space. Make a few covers in different textures or colors and swap them out as seasons change.
Your home gets a fresh look—without buying new pillows every time.
Final Takeaway
Sewing pillow covers that look store-bought isn’t about fancy skills—it’s about thoughtful fabric choices, precise measuring, and careful finishing. Take your time, press as you go, and focus on the details. The result is custom décor that looks polished, expensive, and completely you.
Save this guide for later and start sewing pillows that truly elevate your space!

Leave a Reply