
Floating shelves are one of those rare home upgrades that feel both practical and stylish. They open up wall space, reduce clutter, and instantly give a room that clean, modern look people love saving on Pinterest.
Whether you want extra storage in the kitchen, a display wall in the living room, or a simple upgrade for a small space, floating shelves are surprisingly doable—even if you’re not a seasoned DIYer.
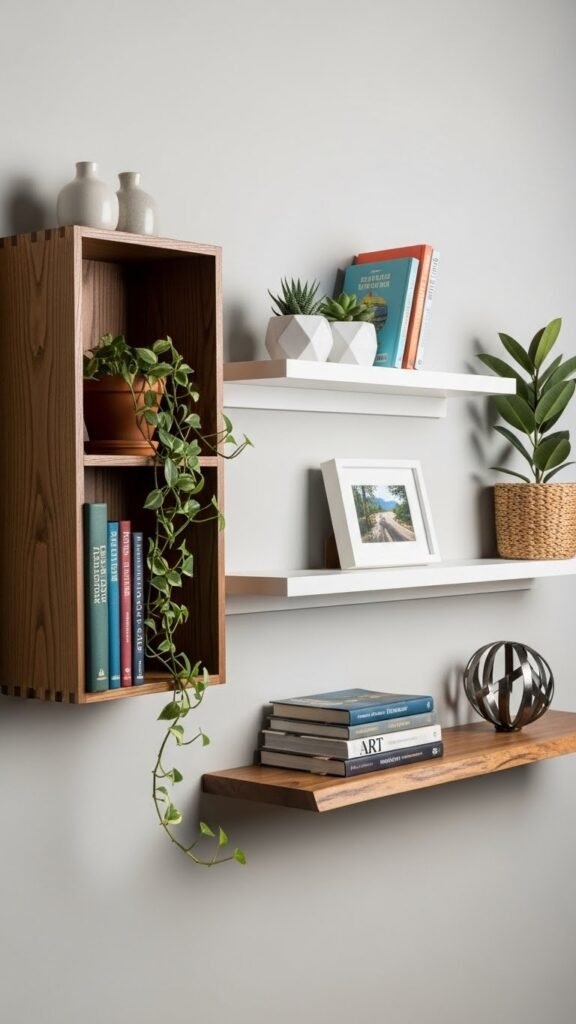
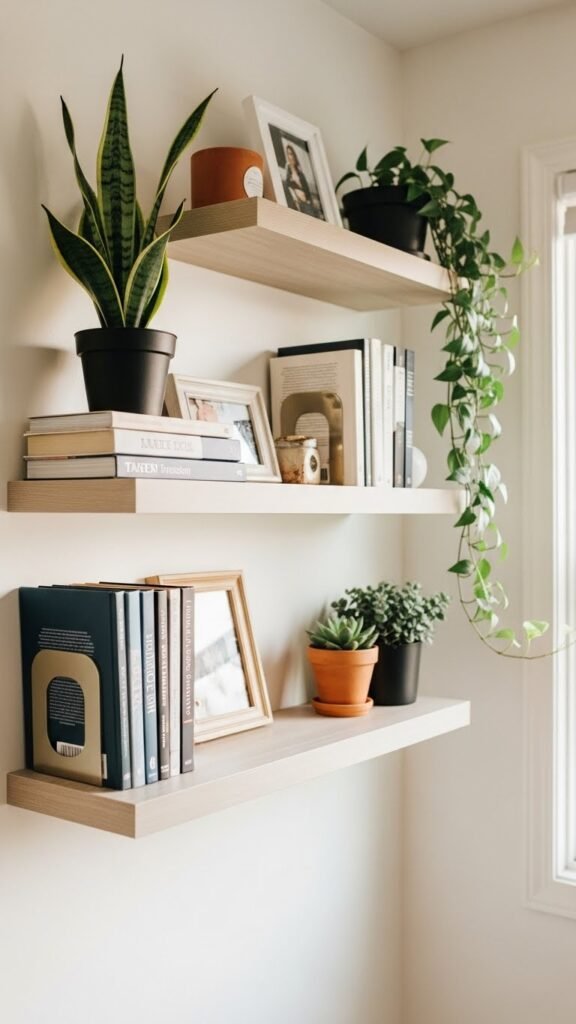
[Image Prompt] A bright, modern living room wall with minimalist wooden floating shelves holding plants, books, and neutral decor, soft natural light, high-end camera, no text on image.
Why Floating Shelves Are Worth Building
Floating shelves work in almost every room because they’re flexible and customizable. You can build them thick or slim, rustic or modern, long or short.
Here’s why they’re so popular:
- They maximize vertical space without bulky furniture
- They make small rooms feel more open
- They double as storage and decor
- They’re budget-friendly compared to custom cabinetry
Best of all, you can tailor them to your exact wall size and style instead of settling for store-bought options.
Choose the Right Shelf Style for Your Space
Before grabbing tools, decide what kind of shelf fits your room best. This step prevents wasted time and mismatched results.
Popular floating shelf styles include:
- Box-style shelves – thick and sturdy, great for kitchens
- Slim modern shelves – clean lines for minimal spaces
- Rustic wood shelves – warm and cozy, perfect for living rooms
- Corner floating shelves – ideal for tight or unused spaces
Think about what the shelf will hold. Decorative items need less support, while dishes or books require stronger construction.
Materials and Tools You’ll Need
You don’t need a full workshop to build floating shelves. Most supplies are easy to find and beginner-friendly.
Basic materials:
- Wood boards (solid wood or plywood)
- Wall-mounted floating shelf brackets
- Screws and wall anchors
- Wood filler
- Sandpaper
- Paint, stain, or sealant
Essential tools:
- Drill
- Level
- Stud finder
- Measuring tape
- Screwdriver or drill bit set
If you’re mounting shelves on drywall, locating wall studs is key for safety and long-term durability.
Step-by-Step: How to Build Floating Shelves
This is where everything comes together. Take your time, measure carefully, and don’t rush.
1. Measure and Mark the Wall
Decide shelf height and spacing. Use a level to draw a straight guideline where the shelf will sit.
2. Install the Brackets
Secure the floating shelf brackets directly into wall studs when possible. If studs aren’t available, use heavy-duty wall anchors.
[Image Prompt] A person installing a floating shelf bracket into a wall using a drill and level, close-up action shot, realistic DIY home scene.
3. Prepare the Shelf Boards
Sand the boards until smooth. Fill any holes or imperfections, then sand again.
4. Paint or Stain
Apply your finish before mounting. Let it fully dry for a cleaner result.
5. Mount the Shelves
Slide the shelf onto the brackets and secure it from underneath if required. Double-check for level.
Styling Floating Shelves Like a Pro
Styling is what turns simple shelves into a design feature.
Try these easy tips:
- Use odd numbers of decor items for balance
- Mix textures: wood, ceramic, glass, greenery
- Leave some empty space to avoid a crowded look
- Layer items with different heights
In kitchens, combine practical items like bowls or jars with a plant or framed art to keep things visually interesting.
[Image Prompt] Styled floating shelves in a kitchen with neutral dishes, small plants, and simple decor, soft daylight, high-quality photography, no text.
Common Mistakes to Avoid
Even simple projects have pitfalls. Avoid these to save time and frustration:
- Skipping wall studs when mounting heavy shelves
- Overloading shelves beyond their weight limit
- Mounting shelves too high or too close together
- Forgetting to use a level
A little patience during installation makes a big difference in the final look.
Where Floating Shelves Work Best
Floating shelves shine in spaces that need storage without visual bulk:
- Kitchens
- Living rooms
- Bathrooms
- Home offices
- Bedrooms
- Entryways
Final Takeaway
Floating shelves are one of the most rewarding DIY projects you can tackle. They’re functional, stylish, and completely customizable to your space. With careful measuring, solid mounting, and thoughtful styling, you can transform bare walls into beautiful storage features.
Save this project for later and start planning your floating shelves today!

Leave a Reply