
If you’ve ever wished you could bottle up the magic of Christmas, a handmade snow globe is the closest thing to it. This easy DIY project turns simple household items into a sparkling holiday keepsake—perfect for decorating your home or gifting to someone special. And the best part? You can customize every detail to match your holiday style.
What You’ll Need to Get Started
Before you begin, gather a few simple supplies. You might already have most of these around the house.
Materials:
- A clear glass jar with a tight lid
- Mini holiday figurines (trees, snowmen, tiny houses)
- Waterproof glue or a hot glue gun
- Distilled water
- Glycerin or clear glue (to slow the snowfall)
- Fake snow or glitter
- Optional: ribbon, twine, or mini tags for decoration
Take your time choosing the figurines—even the tiniest detail can change the entire vibe of your snow globe.

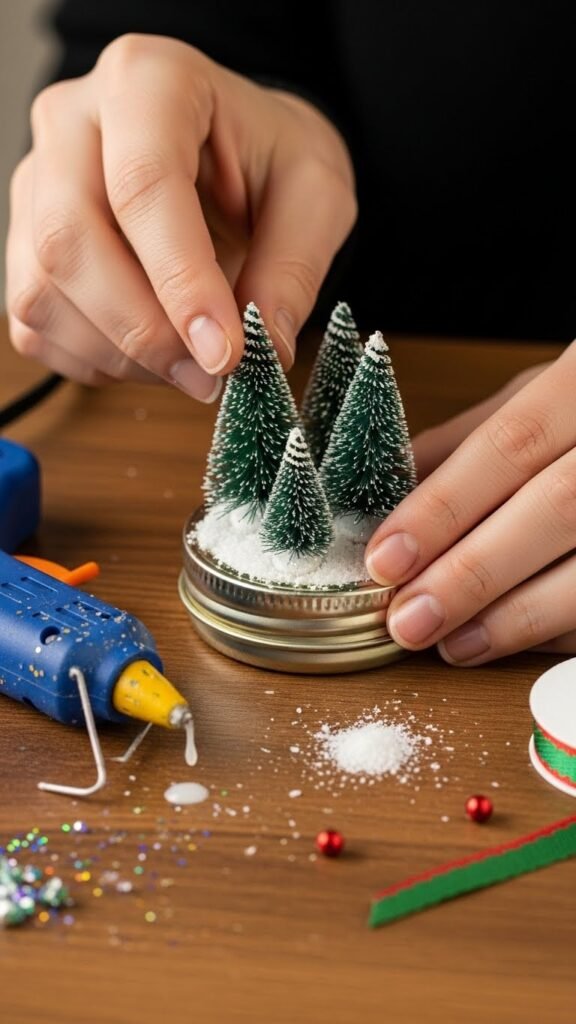
Step 1: Choose & Prep Your Base Figurines
Your figurines are the heart of your snow globe. Pick something that reflects your Christmas theme—classic, rustic, whimsical, or minimal.
- Make sure the base of each figurine is waterproof.
- If a piece is too light, consider adding a small weight underneath.
- Play with placement before gluing anything down.
Once you’re happy with the arrangement, glue your figurines securely to the inside of the jar lid. Let the glue dry completely before moving to the next step.
Step 2: Mix the Perfect “Snowstorm”
Now it’s time to create the snowy magic inside your jar.
Fill the jar almost to the top with distilled water. Add a few drops of glycerin (or a teaspoon of clear glue). This creates slow, mesmerizing snowfall that looks magical when you shake the globe.
Then sprinkle in your glitter or fake snow.
Tip: Use a mix of chunky and fine glitter for a more realistic snow effect.
Be careful not to add too much—too much glitter can clump or fall too quickly.
Step 3: Seal & Secure Your Snow Globe
Carefully lower the figurine lid into the water-filled jar.
Tighten the lid firmly. For extra leak protection, run a line of waterproof glue around the edges.
Hold the globe upside down to check for any drips.
If everything is sealed, give your snow globe a gentle shake. Watch the swirl of flakes fall around your scene—it should feel dreamy and slow.
Step 4: Add Charming Finishing Touches
This is where your snow globe truly becomes gift-worthy.
Wrap a ribbon or twine around the jar lid, or add a small decorative tag with a message like “Merry Christmas!”. Choose colors that coordinate with your figurines.
You can also add:
- Faux berries
- Tiny jingle bells
- A mini pine sprig
- A festive charm
These simple add-ons give your snow globe a polished, Pinterest-perfect look.

Creative Variations You Can Try
Once you’ve mastered the basic technique, have fun with creative versions.
1. Winter Forest Snow Globe
Use only trees—different sizes and textures—to create a peaceful winter woodland scene.
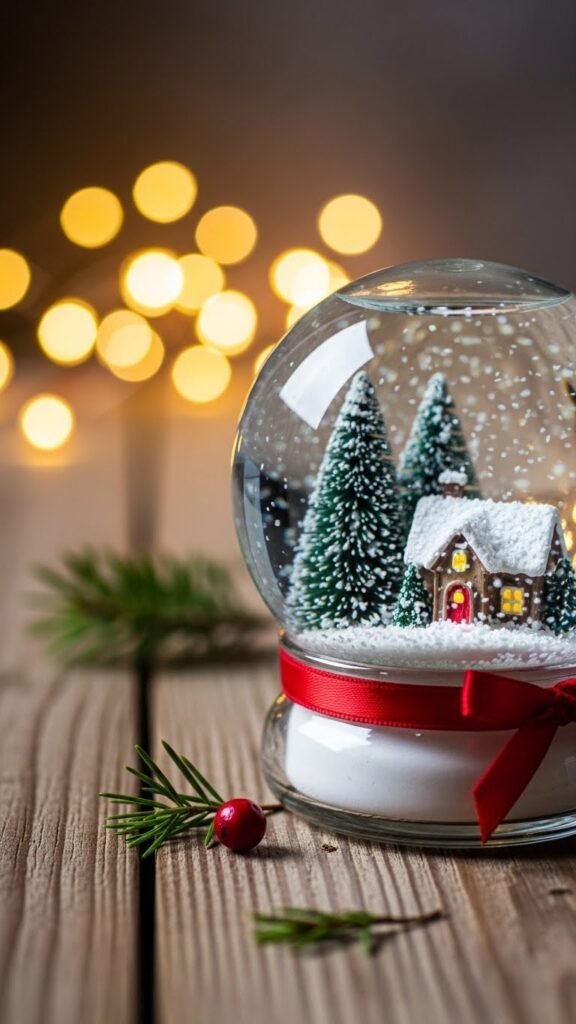
2. Mini Village Globe
Place a tiny house, lamp post, and a snowy tree for a charming, storybook-style globe.
3. Child-Friendly Globe
Swap glass for plastic jars and use larger, durable figurines—great for kids’ rooms.
4. Metallic Holiday Globe
Use gold or silver glitter for a modern, elegant spin on the classic snow globe.
5. Colored Snowfall Globe
Add a hint of food coloring to the water for a soft pastel backdrop—blush pink or icy blue works beautifully.
Troubleshooting Tips
Even simple DIYs can run into small issues. Here’s how to fix them:
If glitter sinks too fast:
Add a bit more glycerin to slow it down.
If the water looks cloudy:
Start with distilled water and avoid overfilling the snow.
If the lid won’t seal:
Clean the rim thoroughly and add a stronger glue.
If figurines tilt or fall:
Use a heavier glue base or attach a small washer beneath.
Why DIY Snow Globes Make Meaningful Gifts
Handmade snow globes are more than decorative—they’re personal. Every scene you create tells a story, whether it’s inspired by a memory, a favorite color palette, or a shared holiday tradition.
They also make:
- Affordable yet thoughtful presents
- Perfect hostess gifts
- Kids’ craft-day projects
- Cozy mantel or table accents
There’s something magical about gifting something you made with your own hands.
Final Shake: Bring the Magic Home
A DIY Christmas snow globe is one of the easiest ways to bring a little extra sparkle into your holiday season. With just a few simple supplies and a bit of creativity, you can craft a keepsake that feels warm, nostalgic, and truly magical.
If you loved this project, save it for later or share it with someone who loves holiday crafting!

Leave a Reply