
If you’re looking for a quick and charming way to warm up your home this holiday season, DIY Christmas pillow covers are the perfect project. They’re simple, budget-friendly, and give your living room or bedroom an instant cozy glow. Plus, you can customize them to match any holiday theme—from rustic farmhouse to modern minimalism.
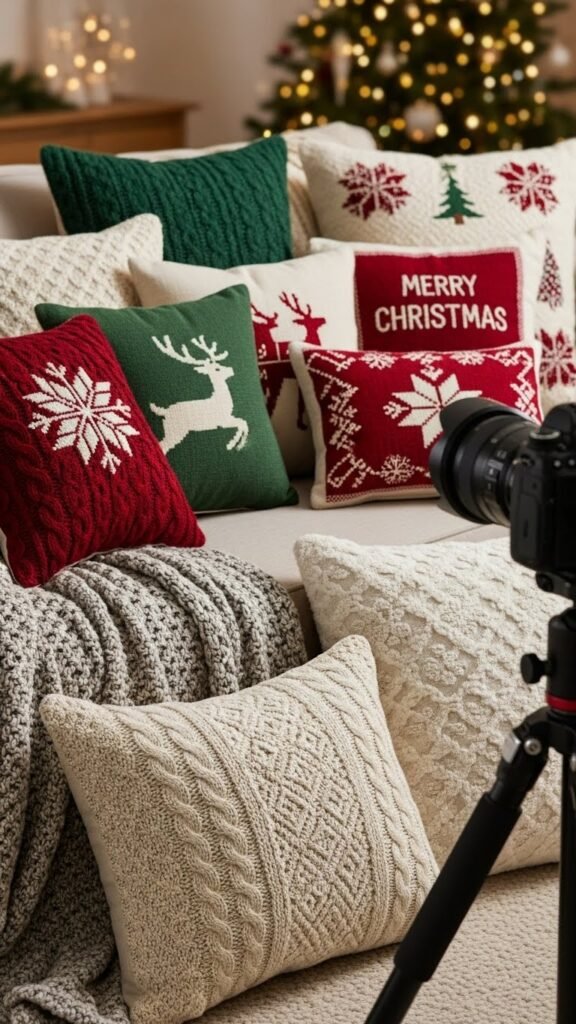
Let’s walk through how to sew your own festive pillow covers with ease—even if you’re a beginner!
Gather Your Materials
Before you begin, collect everything you need. Having your materials ready will make the process smooth and enjoyable.
What you’ll need:
- Festive cotton or flannel fabric
- Sewing machine (or needle and thread if sewing by hand)
- Matching thread
- Fabric scissors
- Pins or fabric clips
- Measuring tape
- Pillow inserts
- Optional embellishments: pom-poms, embroidery thread, buttons, lace

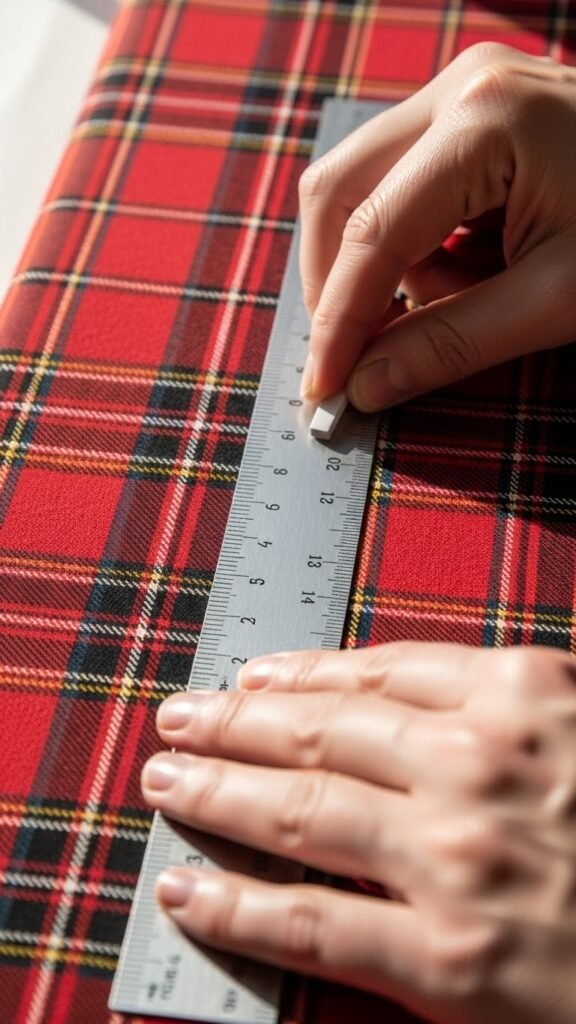
Measure and Cut the Fabric
Start by measuring your pillow insert. Most standard decorative pillows range from 16×16 to 20×20 inches. For an envelope-style cover, the fabric will consist of one front panel and two back panels.
Step-by-step:
- Measure the width and height of the pillow.
- Cut one front panel the exact size of your pillow.
- Cut two back panels, each the same height but half the width of the front panel plus 3 inches for overlap.
Short, clean cuts will help your pillow cover look neat and polished.
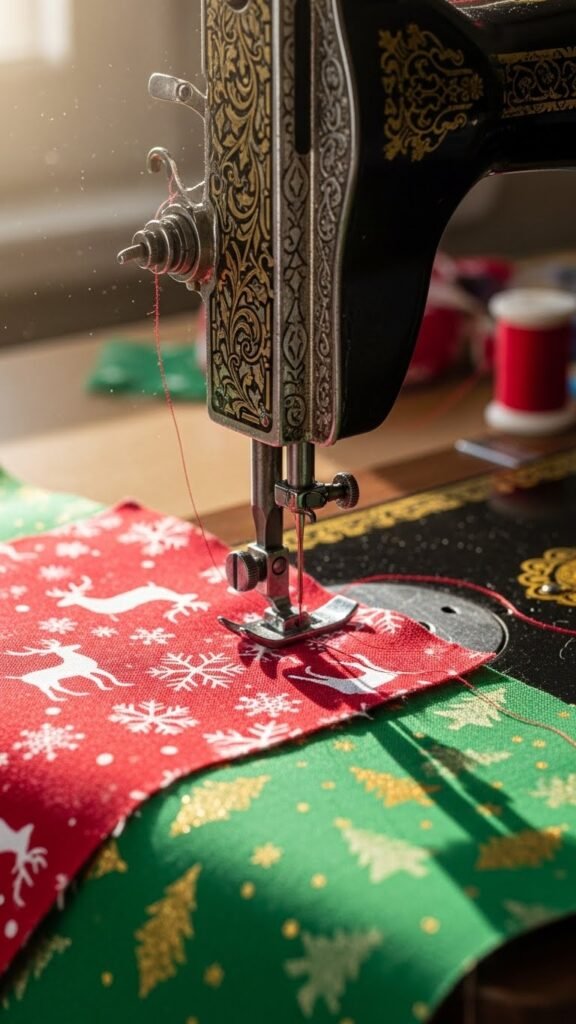
Sew the Edges of the Back Panels
To create the envelope opening, hem one long edge of each back panel. This step keeps the opening tidy and prevents fraying.
How to do it:
- Fold the long edge over ½ inch.
- Press with an iron.
- Fold again and stitch a straight line across.
- Repeat this with the second back panel.
This simple stitching gives your pillow cover a clean, professional look.
Assemble the Pillow Cover
Now comes the fun part—putting everything together.
Instructions:
- Lay the front fabric panel right side up.
- Place the first back panel right side down on top, aligning the edges.
- Lay the second back panel on the opposite side, creating an overlapping flap.
- Pin everything in place.
- Sew around all four sides with a ½-inch seam allowance.
- Trim corners carefully to help them turn crisp.
Once stitched, turn it inside out, and you’ll instantly see your pillow cover coming to life.
Turn and Stuff the Pillow Cover
Flip the pillow cover right side out by pulling it through the envelope opening. Use your fingers or a blunt object to push out the corners.
Slide your pillow insert inside, adjusting it until it looks full and smooth.
You can stop here for a simple look—or keep going and add festive magic!
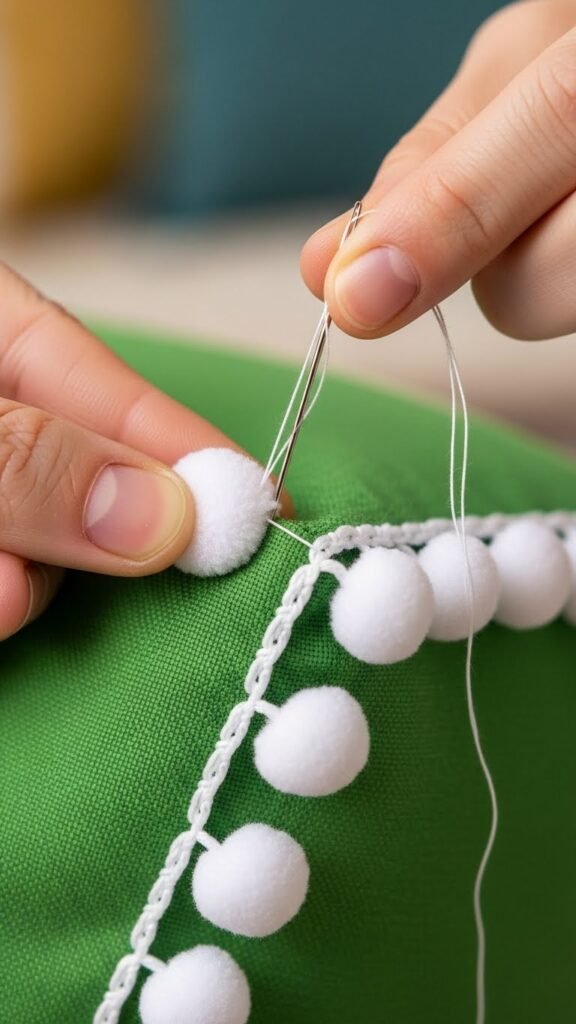
Add Fun Christmas Embellishments
If you want to elevate your DIY pillow covers, this is where you can get creative. Simple touches make your covers look stylish and personalized.
Ideas to try:
- Pom-pom trim along the edges
- Hand-stitched snowflakes using embroidery thread
- Buttons shaped like stars or holly
- Heat-transfer designs like trees or reindeer
- Fabric appliqués cut from leftover scraps
A few small additions can completely transform your pillow from basic to breathtaking.
Mix and Match for a Cozy Holiday Home
The best part about sewing your own Christmas pillow covers is how easy they are to personalize. You can create:
- Matching sets for a coordinated couch
- A mix of patterns like plaid, stars, and snowflakes
- Soft flannel pillows for a warm, winter cottage feel
- Neutral minimalist designs with subtle embroidery
Make a few variations, and your home will feel instantly festive.
Final Touches & Display Ideas
Once your pillow covers are finished, arrange them throughout your home:
- Layer large and small pillows on your couch
- Style them with blankets for an inviting reading nook
- Place oversized pillows on the floor for kids’ holiday movie nights
- Add them to your bedroom for soft, seasonal charm
They also make thoughtful handmade gifts for friends and family.
Wrap-Up
Sewing festive DIY Christmas pillow covers is a fun and rewarding project that brings instant comfort and charm to your space. With just a bit of fabric and creativity, you can design beautiful pieces that brighten any room.
Save this tutorial for later and start crafting your coziest holiday yet!

Leave a Reply